Overland Track Experience and Gear Notes
Recently I embarked on the Overland track, walking some of the best track available in Australia - some have argued up there as one of the best in the world. There is an abundance of resources online with packing lists, itineraries, and resources to give you insights into what to expect, but that hasn’t stopped me from wanting to write about my experience. I made some gear decisions that are uncommon amongst most hikers on the trail that I bumped into but maybe not so uncommon in ultralight or ultralight adjacent circles.
I started the track with a total pack weight of ~12kg including my water, my girlfriend was carrying ~11kg with water. My base weight was 5.96kg according to lighterpack. This put us significantly lighter than most people we met on the trail. While some people carried a weight of 16-18kg we ran into many that were pushing 25kg or more. This showed, particularly on the later days when they had already been carrying their packs a long way. Later on I’ll include some notes about the most common pieces of gear that made it to the end of the trail unused.
My major concern at the start of the hike was my feet. Trialling a new pair of shoes from a company I hadn’t used before without doing some shorter trails is a scary commitment and while they seemed comfy to wear on shorter walks I wasn’t sure about a full week. My other concern was my rain gear - I chose to forego rain pants and was also testing out another piece of new gear, my AntiGravityGear silnylon rain jacket, a very lightweight but completely non-breathable jacket. I had also heard mixed reports about setting up on the tent platforms with some indication that sites with newer platforms could be challenging with non-freestanding tents, one of which I had packed.
Without further ado, let’s get into some of the topics that stuck out to me.
Daily Overview
Conditions
The conditions are an important backdrop to our entire trip. We experienced no rain, as a yearly average it rains (at best) every second day. The day before we set off, wind was measured at 110kph at Cradle Mt visitor centre and hearing from those that were on the trail that day it was absolutely vicious. I measure temperature using my GoVee thermo hygrometer, it did spend some nights inside huts with me so I’ve provided an overall view of temperatures:
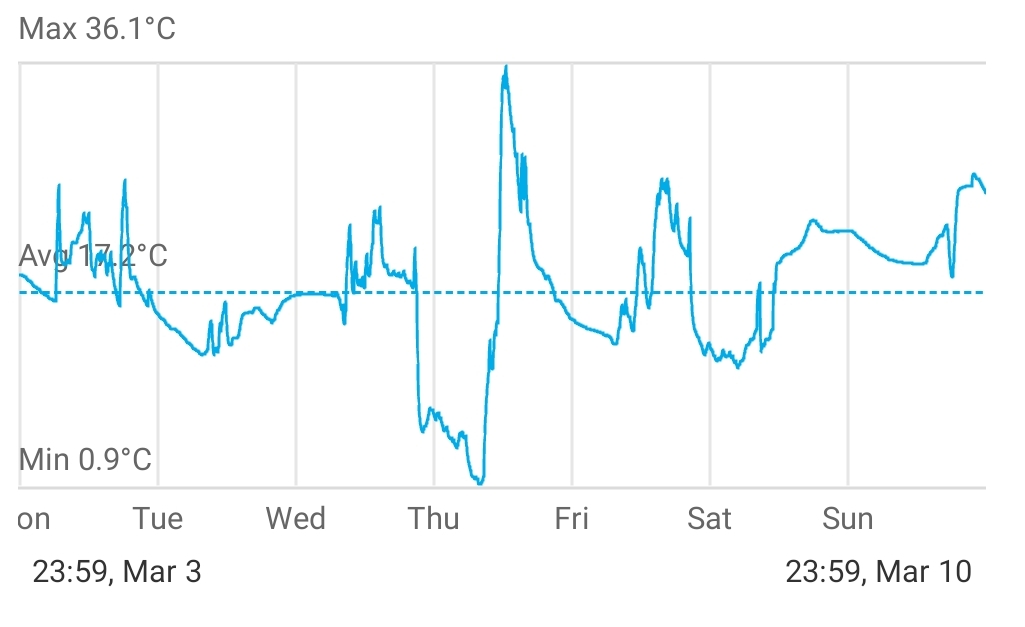
- Dates: March 04-09 2024
- Approx Daily High: 20-26°C
- Approx Daily Low: 0-1°C
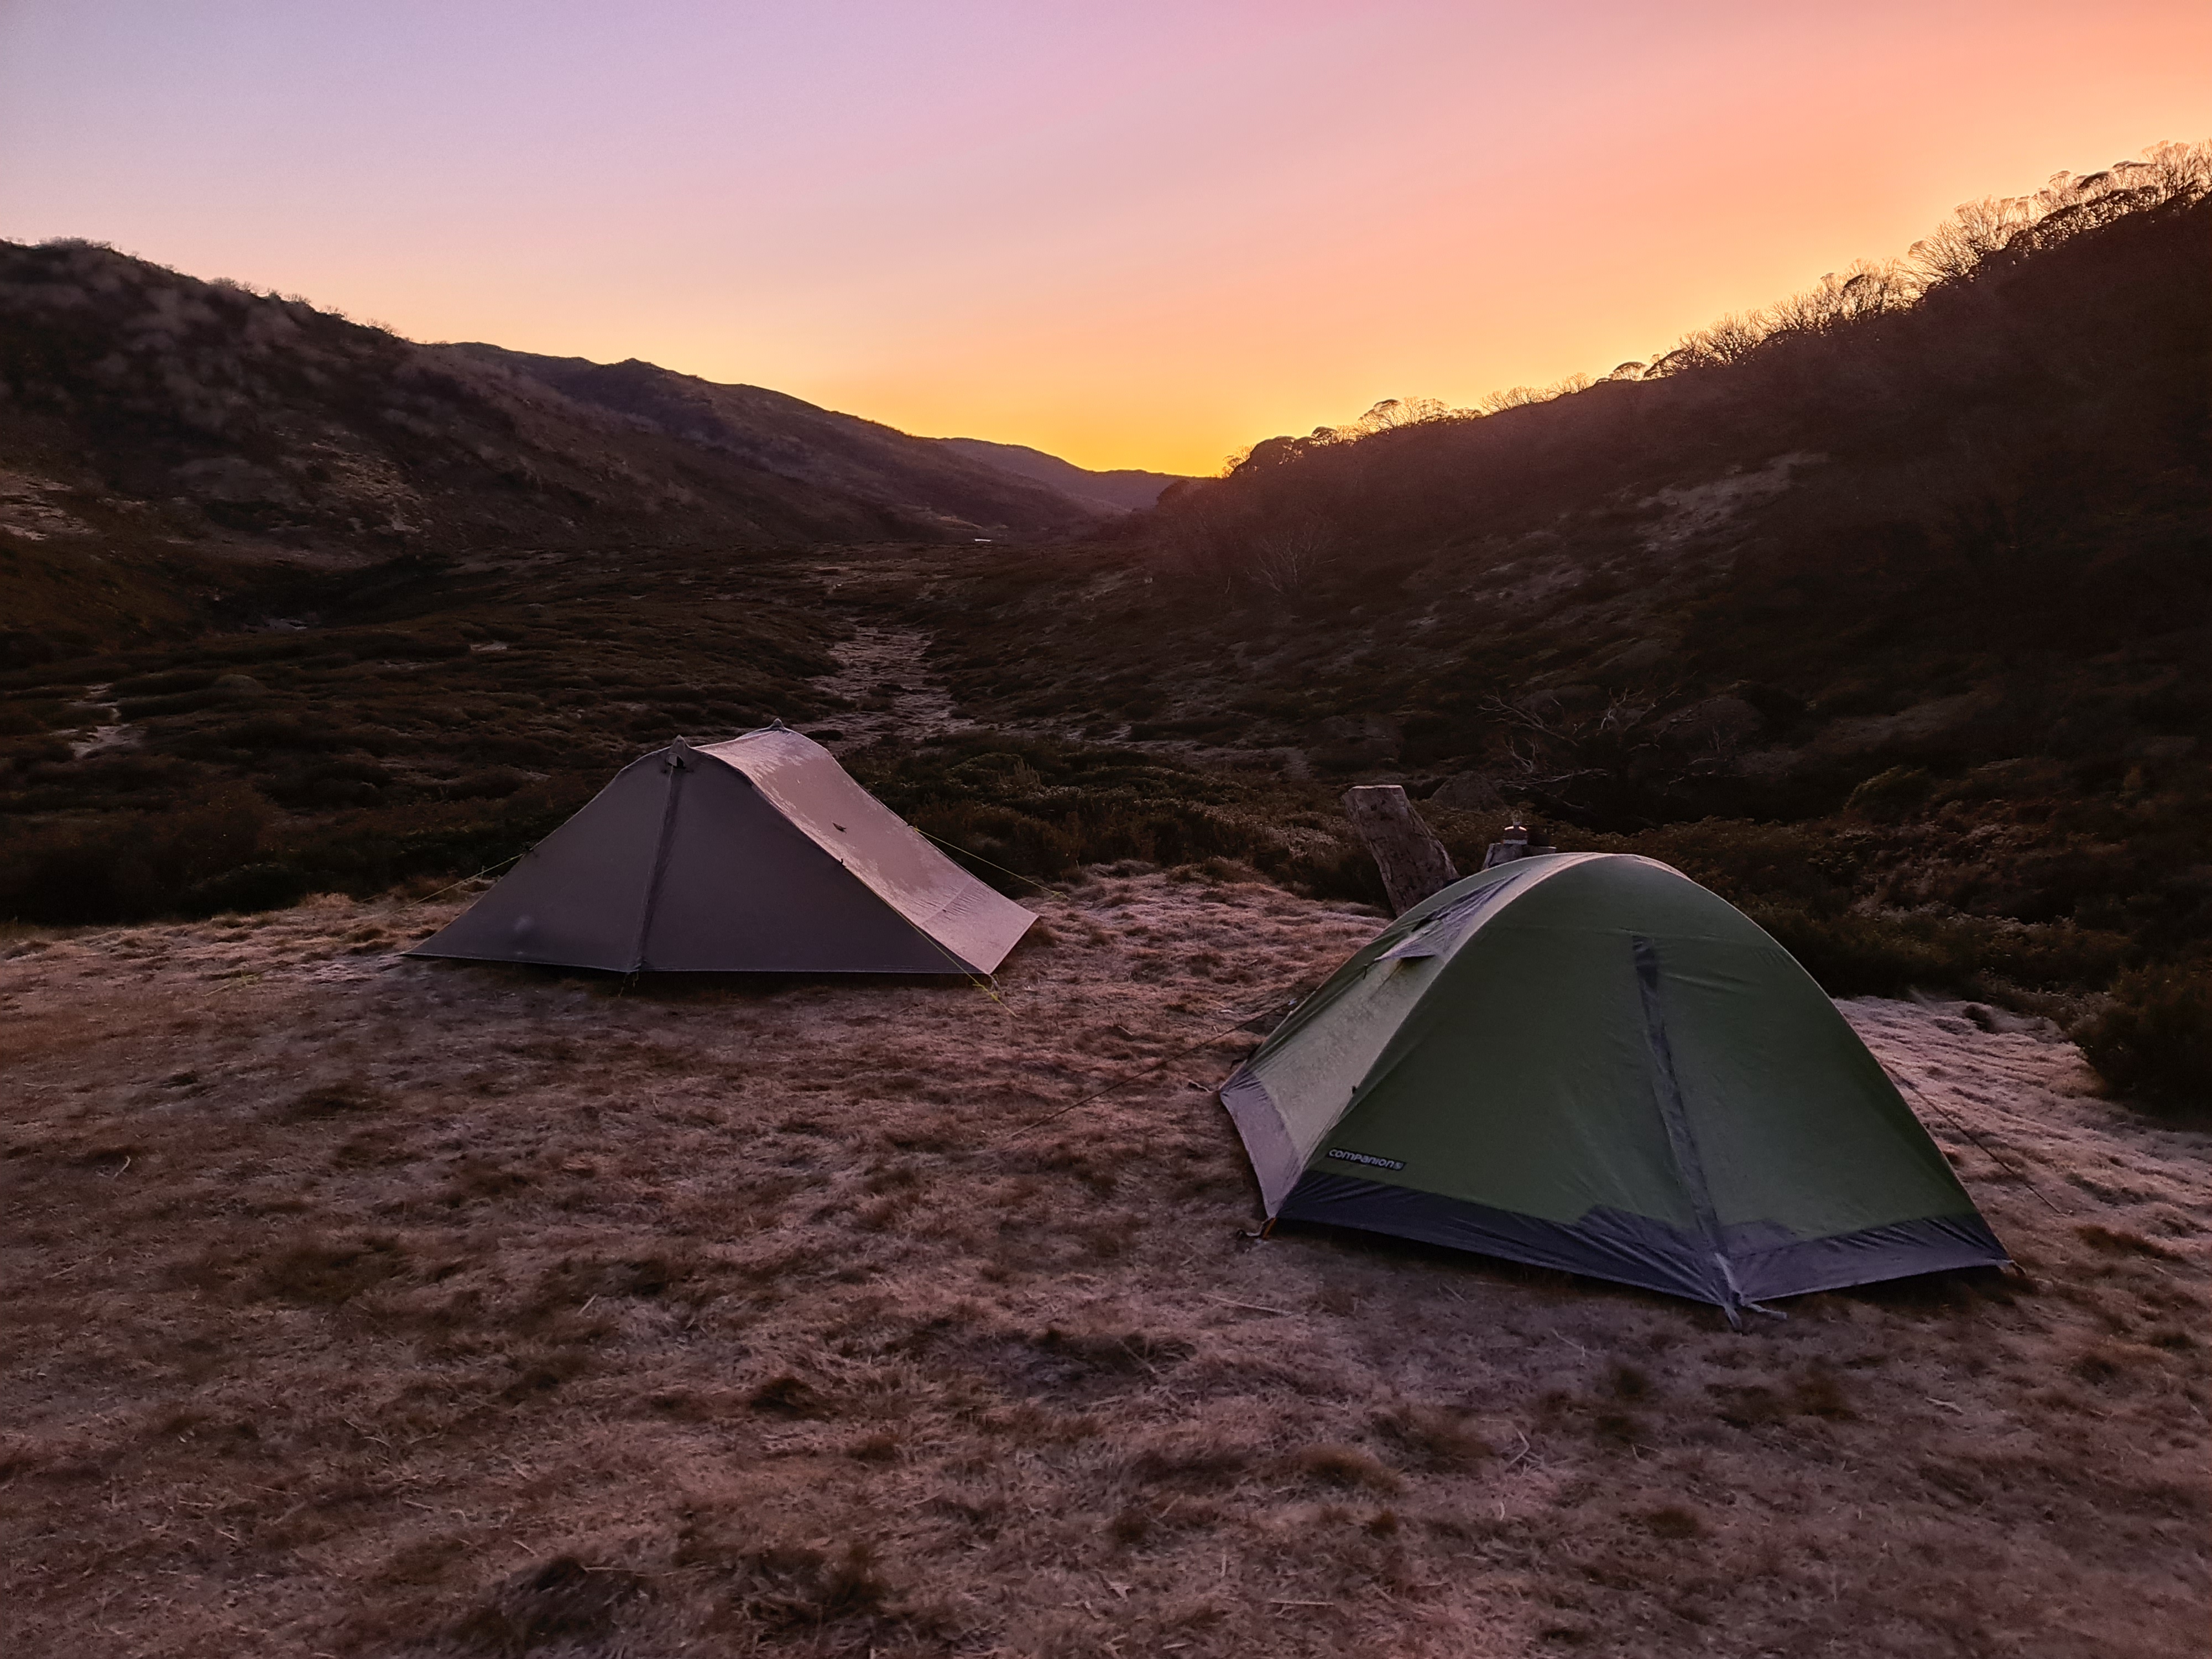
We slept in tents at New Pelion (0C overnight) and Narcissus (14°C overnight), so all the other data is from inside huts. The massive high at 36C is from leaving my packs (and therfore the GoVee) in the sun while we walked up Mt Ossa… oops!
Day 1 - Ronny Creek to Waterfall Valley
We - being just a little bit dumb - decided that driving to the trail from Hobart made sense. We were visiting friends there beforehand and figured lots of people would be doing the same thing. As it turns out, basically nobody does this. The consequence of this being that finding a shuttle that was running on the day we wanted was pretty much impossible. Thankfully there are a few options - taking a bus to Launceston and a shuttle from there being the easiest - and as it turns out we have some really good friends, so good in fact that we ended up being driven from Hobart to the Cradle Mountain visitor center.
We got there later than most, being one of the last on the list to be ticked off and go through the mandatory hypothermia briefing. We jumped on the bus at about 12:30 and experienced one of the strangest rides to the trail head I have ever experienced. The Cradle Mountain area is heavily used by day visitors meaning that it was very busy - what I didn’t realize or expect was that the bus drive to Ronny Creek would be a narrated tour of the national park with fun facts being shared by the bus driver. Not unpleasant at all, just not expected. What I also wasn’t expecting was just how not remote the start of the trail is due to all the day walkers headed to Cradle Mountain. We had a glorious first day with warm weather and clear skies meaning that the traffic on the trail was probably as high as it gets, however up until we passed Cradle Mountain we were constantly bumping into day walkers while we were laden with our hiking packs. Always a funny contrast!
The climb up to Marion’s lookout was a good introduction to the trail. Not a particularly hard climb but a gentle reminder that the Overland track is not a flat meandering walk and will include plenty of elevation gain. We made it to Kitchen Hut in good time, around 14:00, and unwrapped our Subway sandwiches while we decided if a Cradle Mountain ascent would be possible. I cannot stress enough just how delightful having subway was.
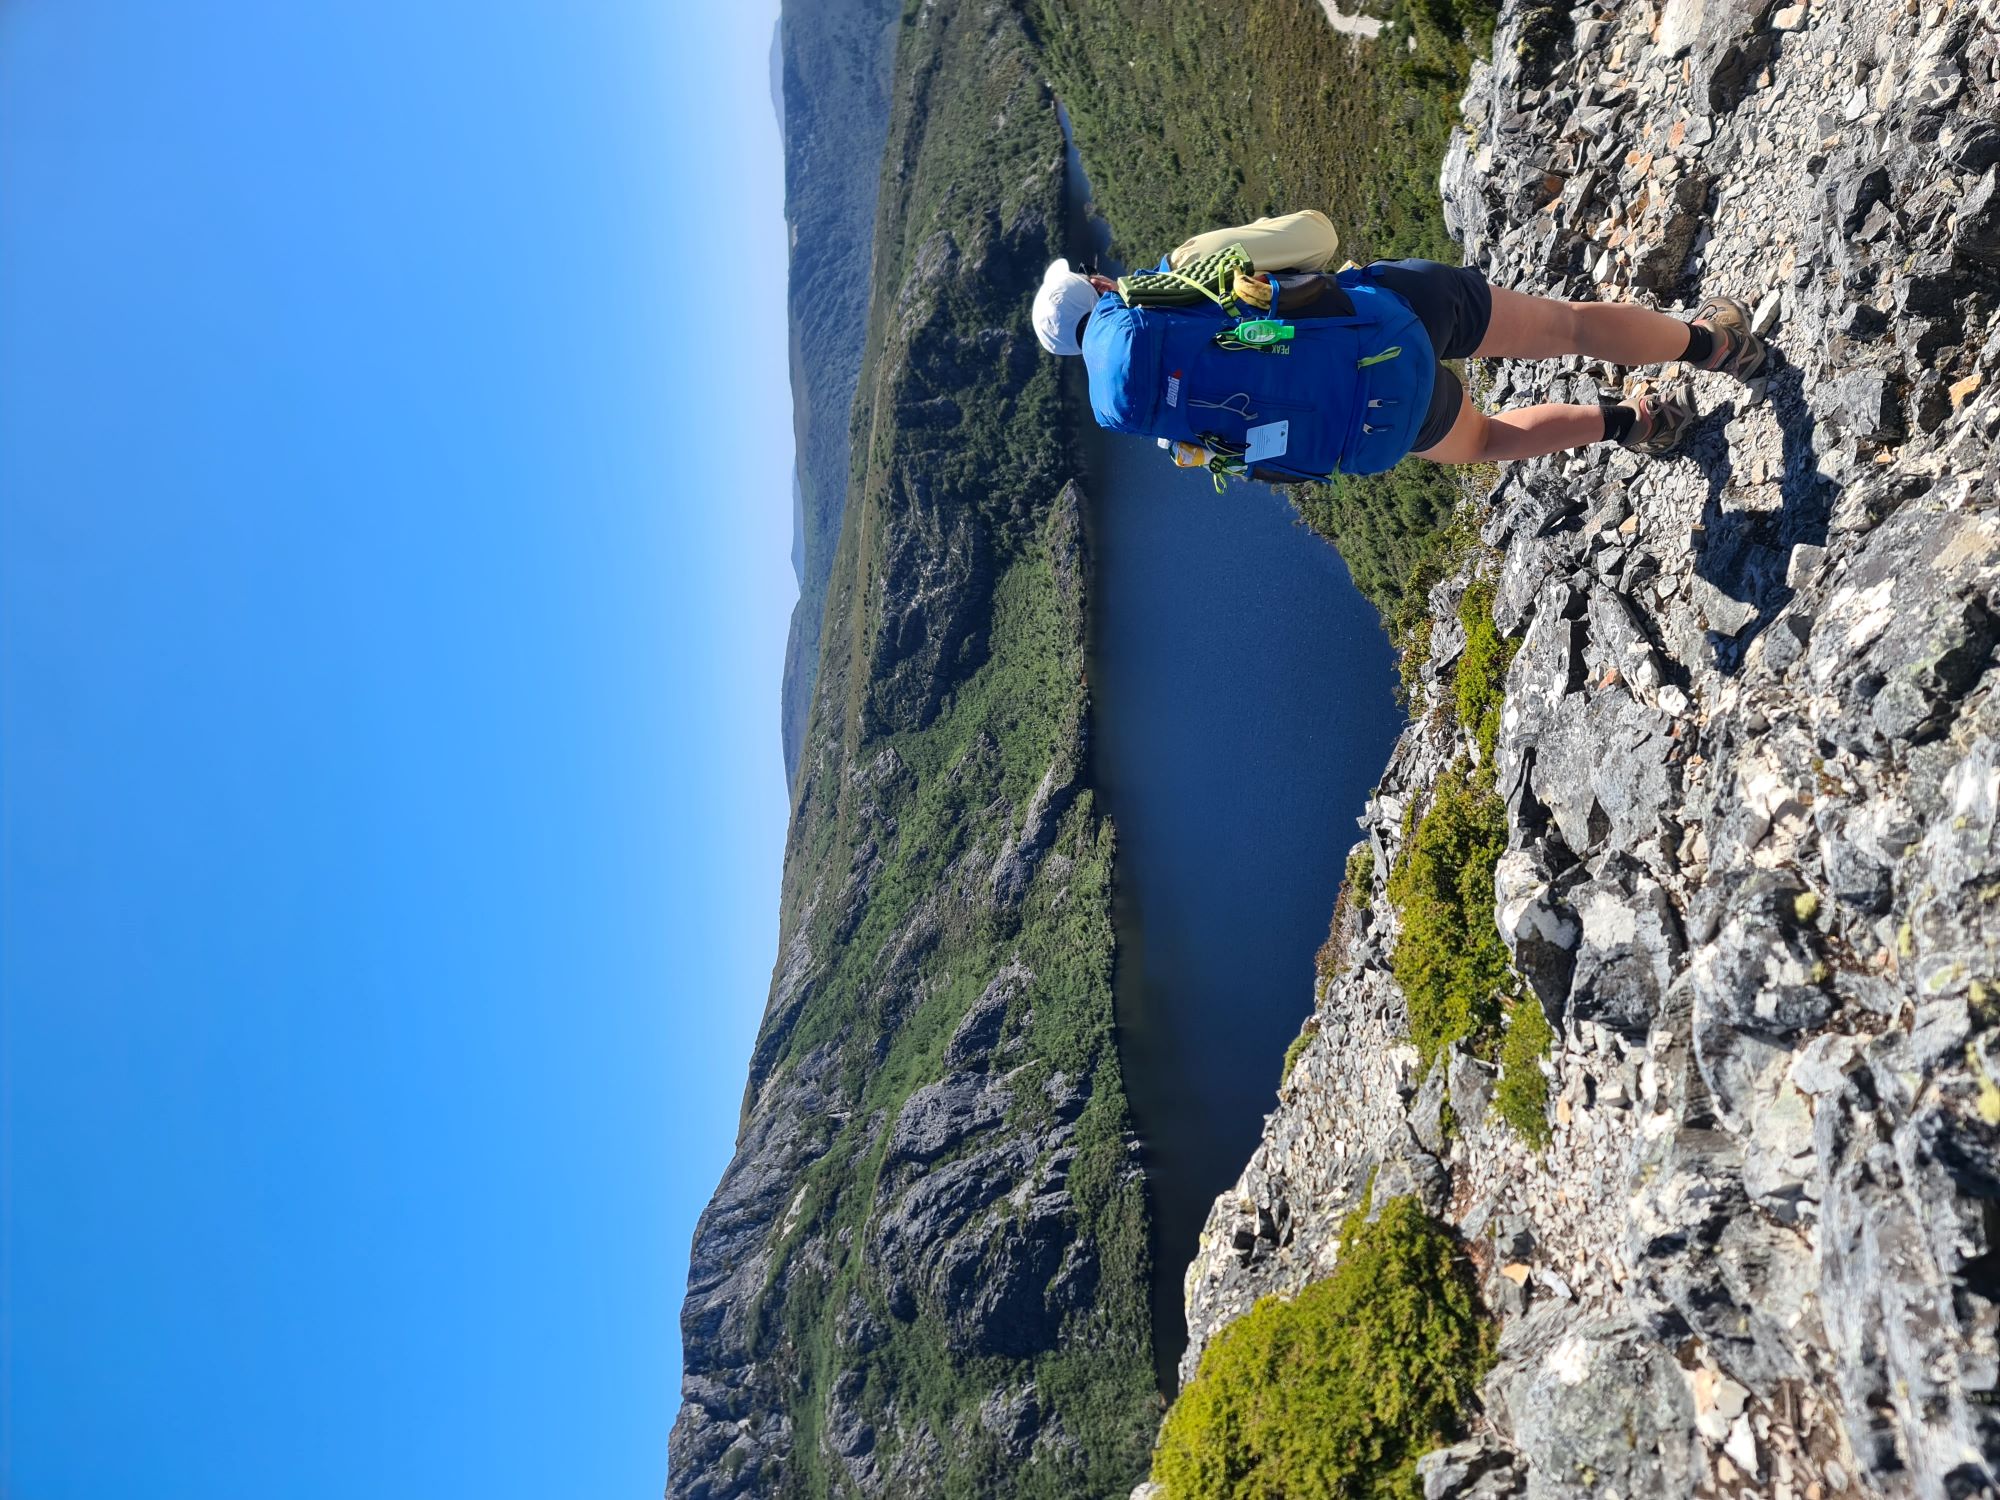
We dropped our packs and grabbed a water bottle and a hiking pole each, figuring that the climb wasn’t really that far and we’d be done quickly. This, in hindsight, was not the best way to do this. Hiking poles are mostly useless for this side trip and get in the way during the rock scramble. Carrying a water bottle also gets in the way. Alas, we had not brought a day-pack but that is not u l t r a l i g h t and so up we went with water bottles in hand. On our way up we passed tired hikers who encouragingly told us we were nearly there - bloody liars - until we passed a lady who had fallen during the rock scramble, semi-mercifully having her fall broken by a big rock. This did stop her tumbling to her death, but also left a bloody cut, a reminder that you absolutely can get hurt. We climbed up to the main false peak, looked at how far we had left and where the sun was. Unfortunately in the end we decided that with the sun receding and an unknown trail ahead, we didn’t want to risk walking in the dark. In hindsight, we did have enough time as the rest of the walk to Waterfall Valley can be done with pace.
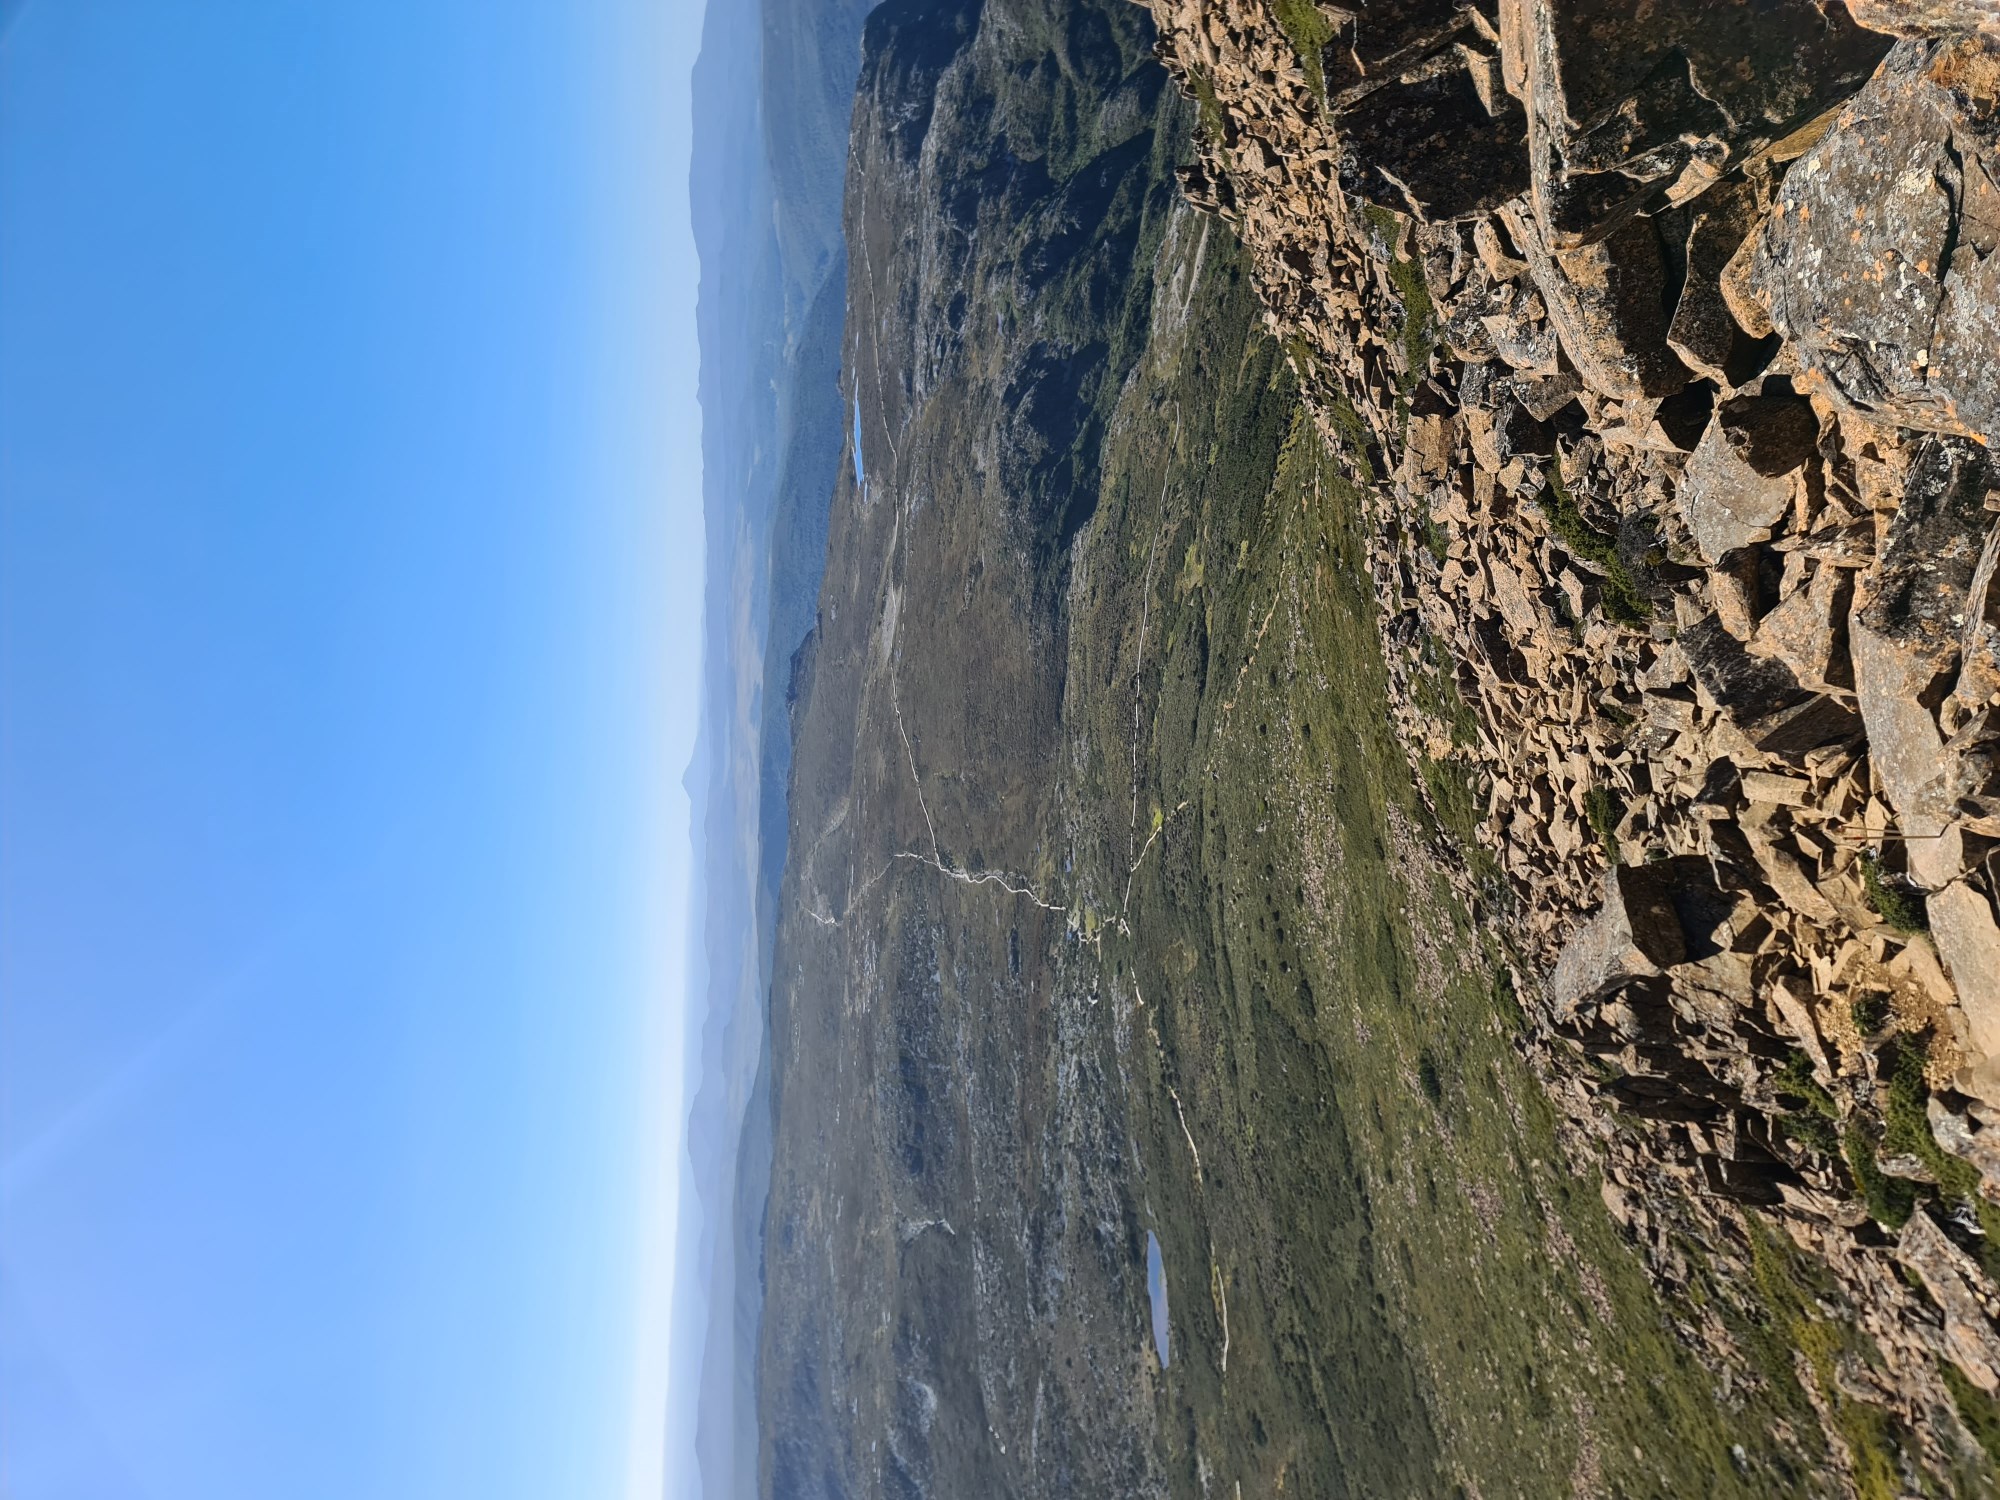
Sheepishly we climbed down to our packs, drank some water, and got on our way. The rest of the walk to waterfall valley is beautiful if a bit uneventful. The walk down into waterfall valley is fairly steep and fairly slippery - I would imagine this would be difficult in the rain, and we made it to the hut before sunset. We were met by a volunteer staying at the nearby staffed hut who let us know she was there if we needed help and that there was also a hut warden there, one of only two we saw on the trail.
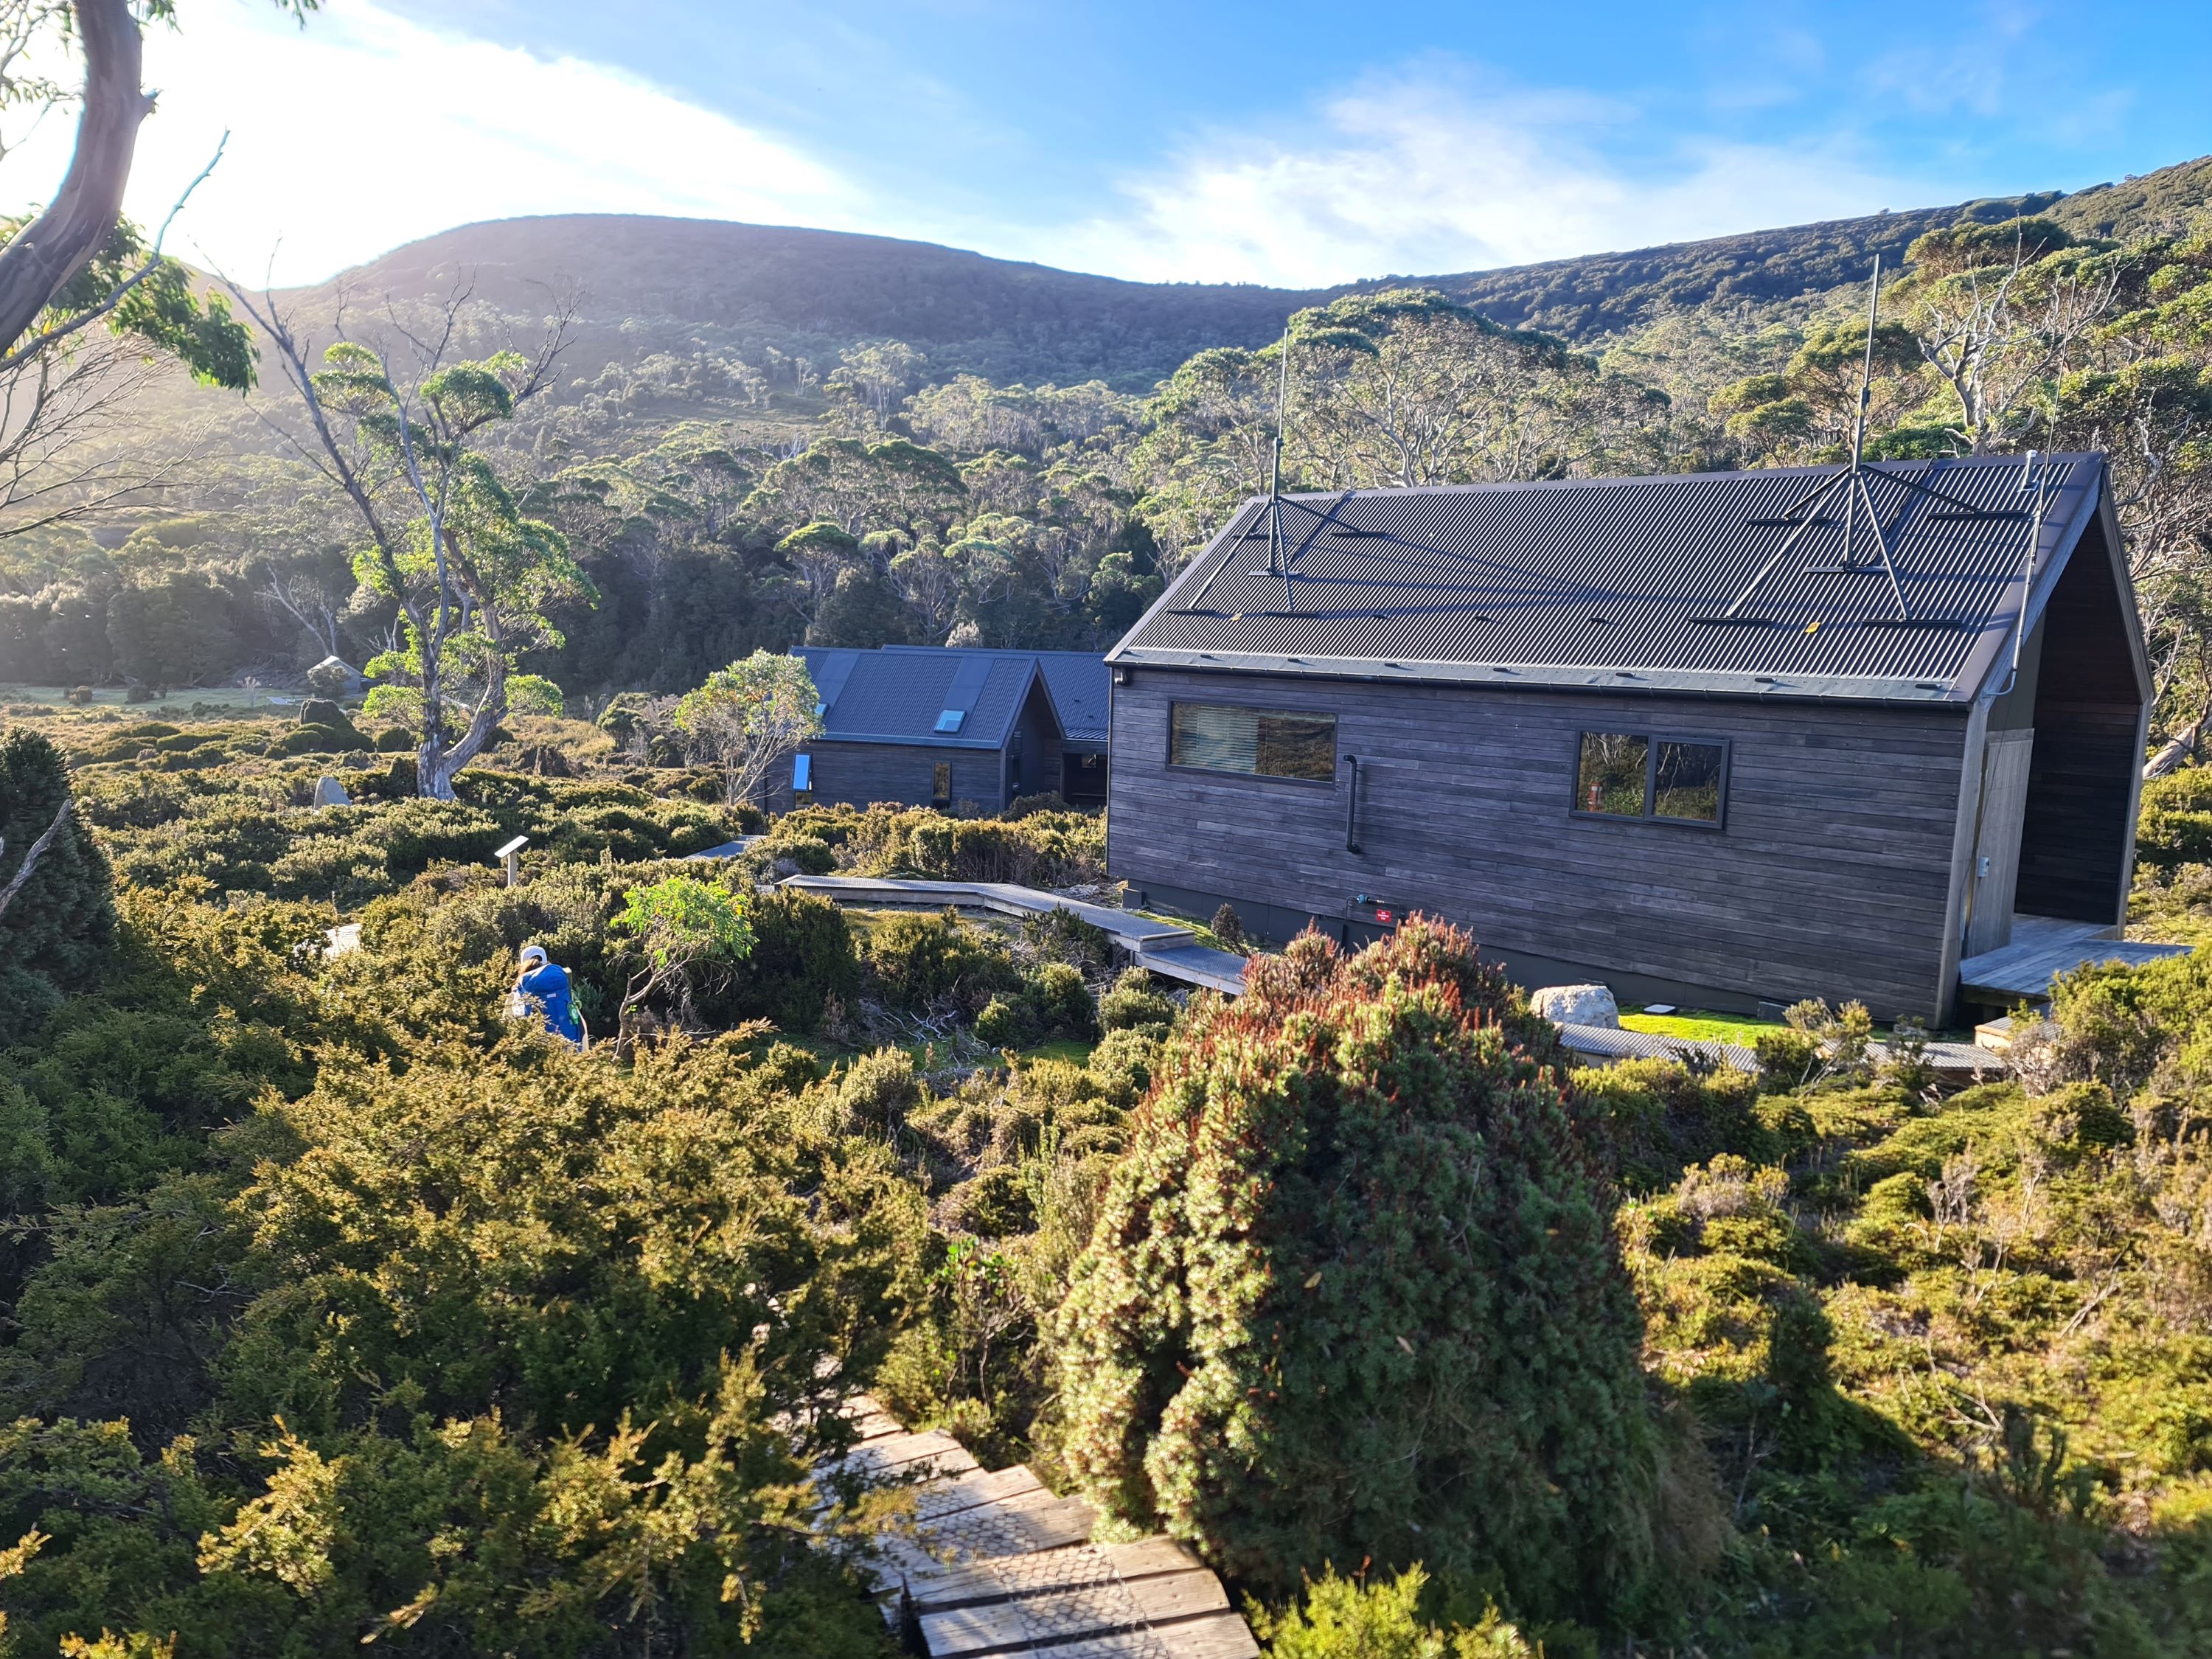
Total time: 3h30m
Day 2 - Waterfall Valley to Lake Windermere
We woke up early-ish due to the sun and other hikers getting up and about. A quick brekky and out onto the trail where we met a wombat rooting around next to the trail. Walking earlier is always my preference, my absolute favourite time to be out is just as the sun is rising while the air is cool and there’s still some dew about. The mixture of soft reflected light and hard light directly from the sun provides a litle sumn sumn that energises me.
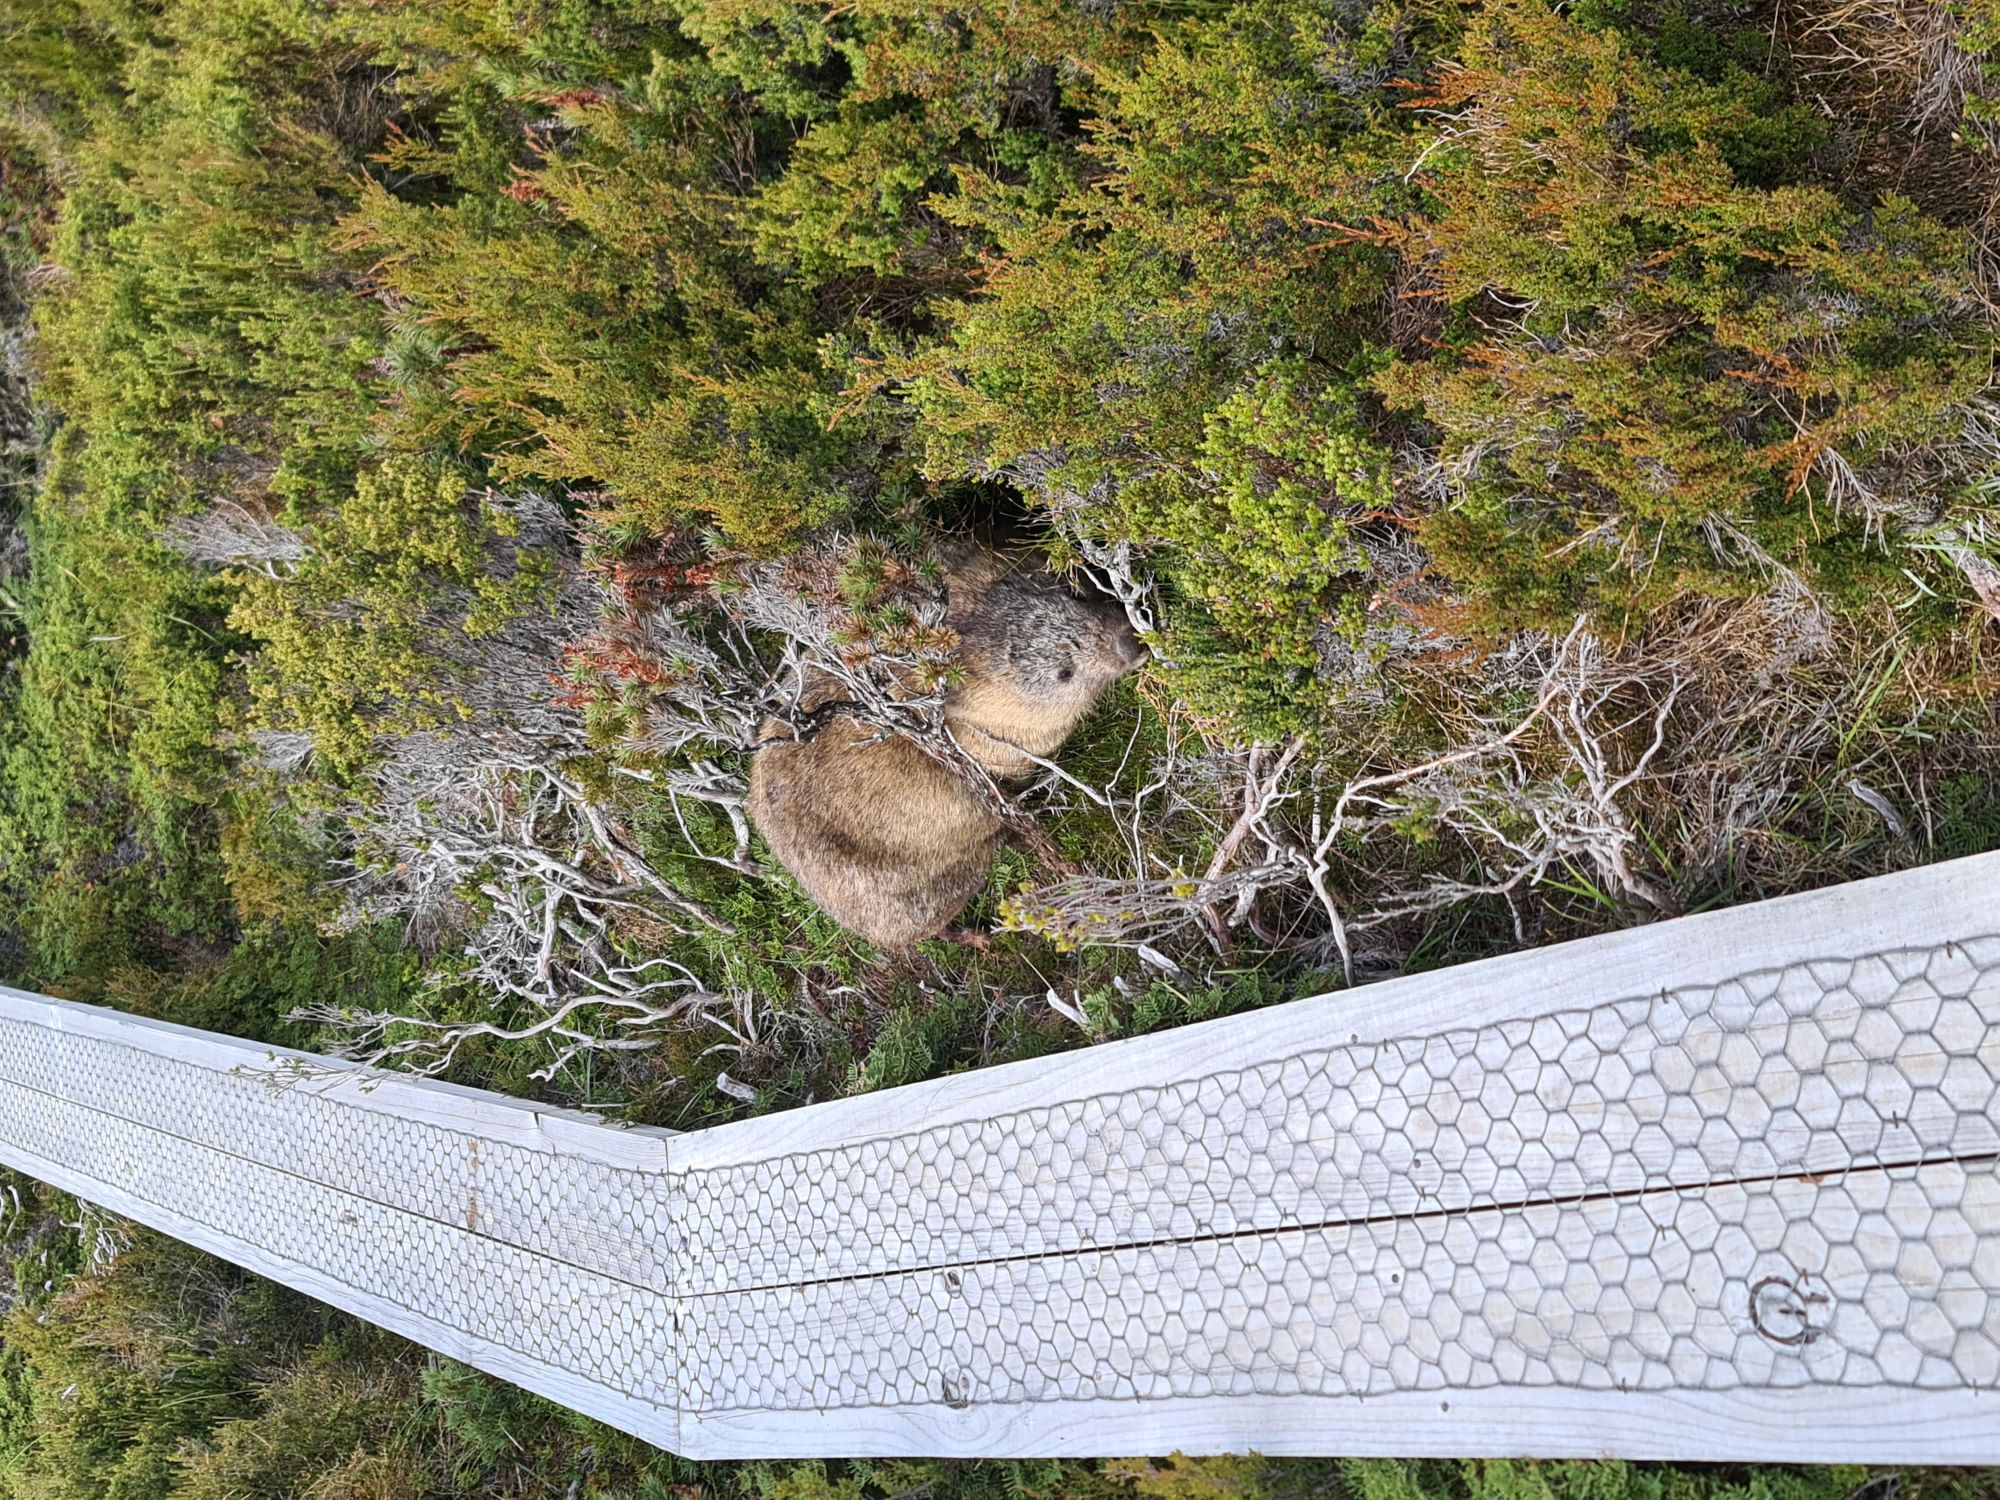
This day was really short - we had considered doing it as a double and walking out instead of taking the ferry - but chose to just enjoy a relaxing day. In the future, I would probably double this by combining it with the first day, taking an earlier bus and skipping Cradle Mountain. Otherwise, a side trip to Barn Bluff would give this day a bit more tooth.
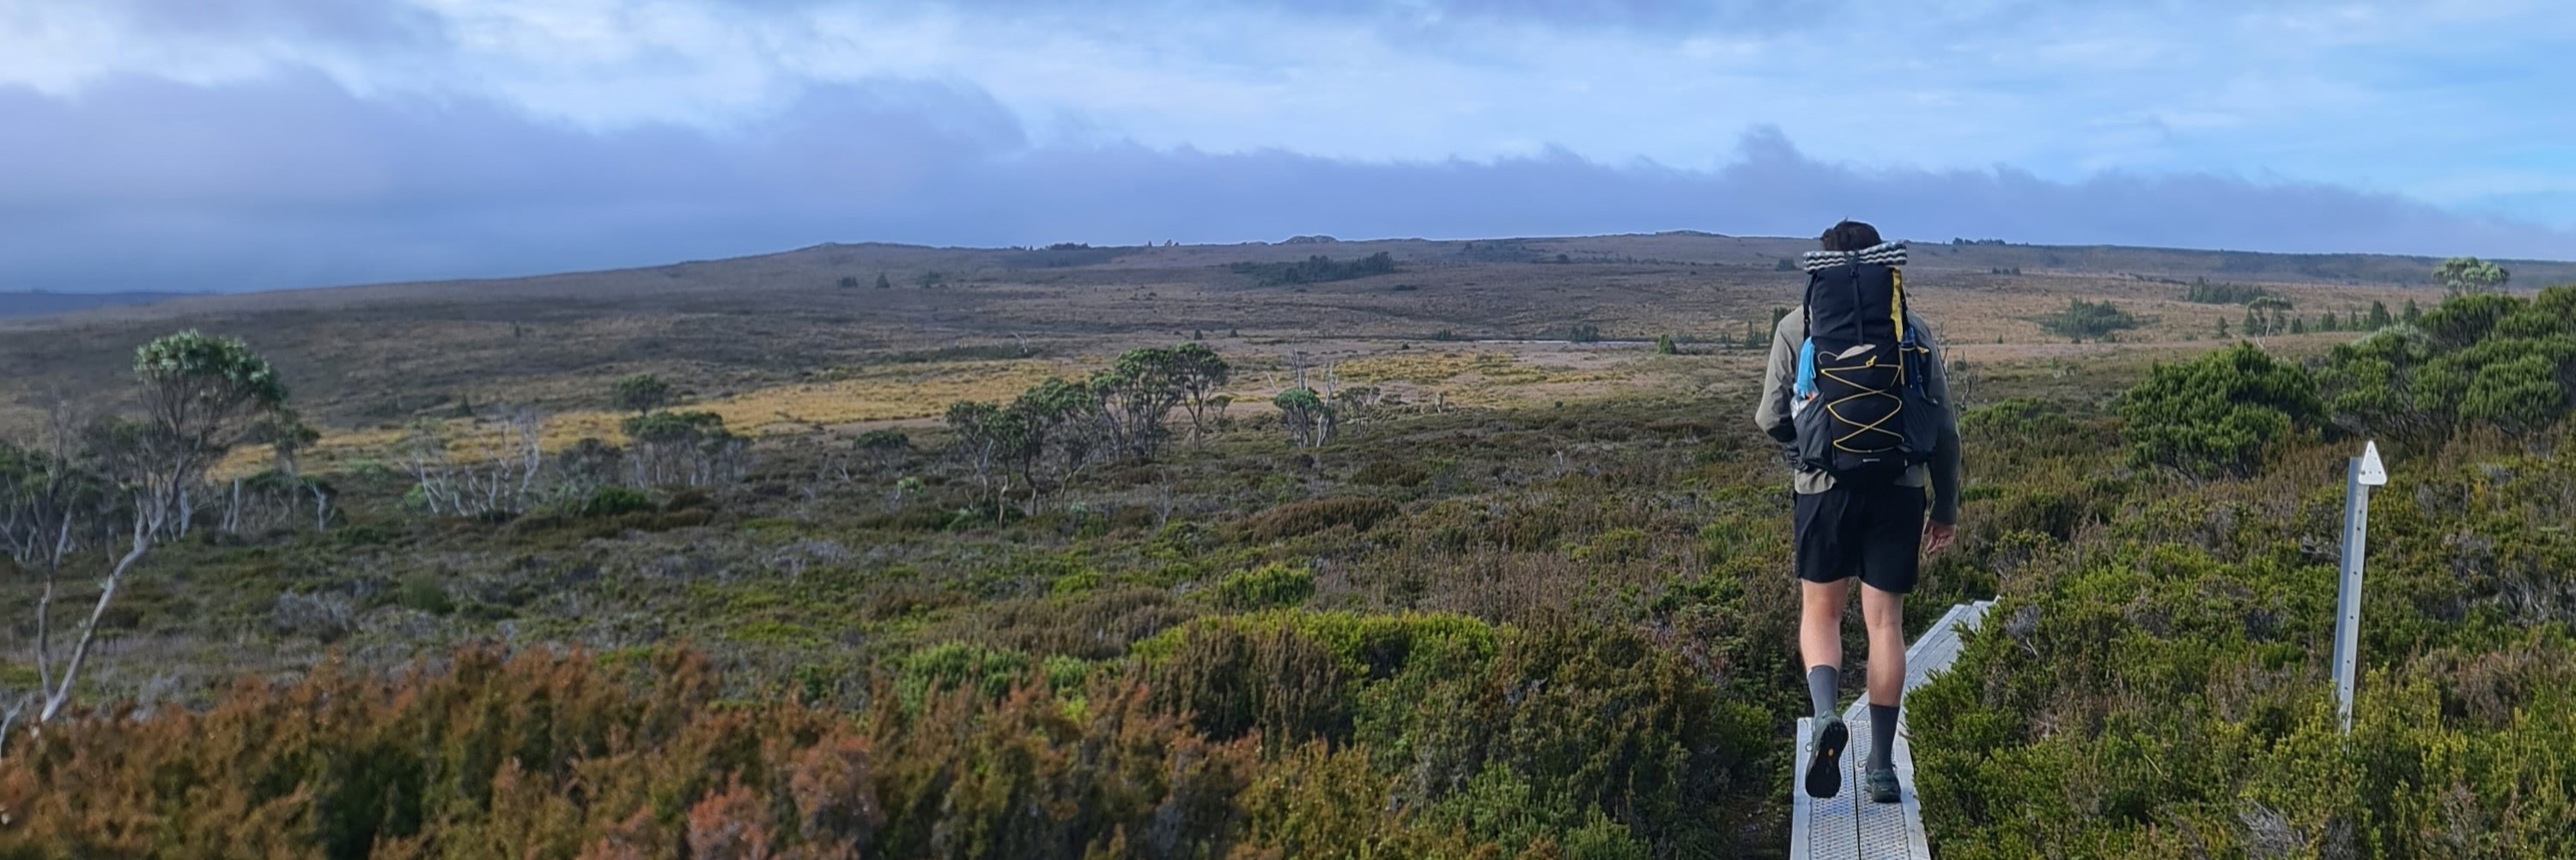
The terrain was beautiful on this day with low shrub providing unobstructed views across the landscape. We ended up skipping Lake Will, we had intended to stop here however as we arrived we caught up to a guided tour. Frankly, we didn’t really feel like walking to Lake Will and having lunch with another 12-14 people and decided to skip it. We later found out that if you go to Lake Will and continue along past where most stop, there is a great waterfall hidden that is well worth visiting… maybe next time!
At Lake Windermere we swam several times - including one accidental strip show in front of a guided walk while I cleaned my underwear. The value of a swim after a day of walking cannot be overstated and I am beyond grateful that we were able to swim every day of the trail, keeping our bodies and odor fresh.
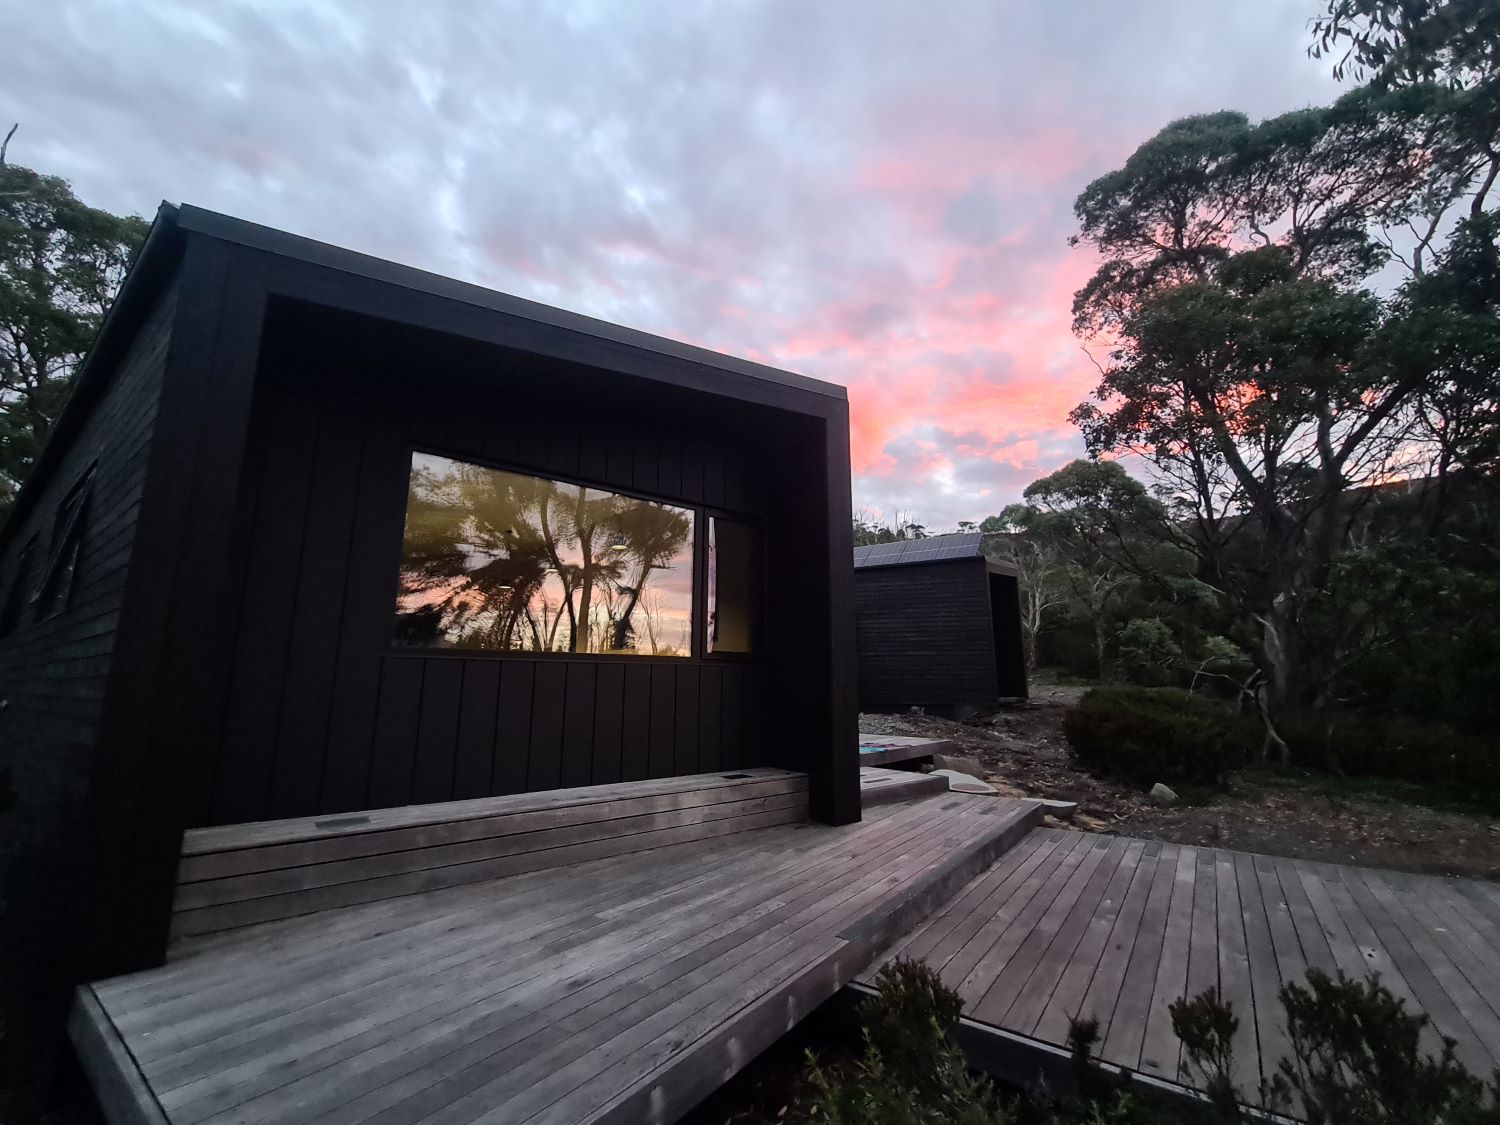
Total time: 1h45m
Day 3 - Lake Windermere to New Pelion Hut
Without side trips, this is one of the harder days simply because it is one of the longest. The elevation gain is modest at ~340m, in fact you spend most of the day walking downhill into Frog Flat before an honest uphill to get you to the hut. This day was extremely fun, roaming through forested sections and lush growth with plenty of great spots to stop and have a snack. This was our first day of real mud with some seriously boggy sections, but that’s all part of the fun. What wasn’t so fun, was the whooping I caught from mosquitos. We stopped at Frog Flat for lunch and while I was eating, I got eated. They were vicious, unrelenting, and worst of all sneaky - attacking me from behind and sticking me in the back where I didn’t notice them. Woe is me.

You emerge from the forested section into a more typical Australia terrain with dryer substrate and large gum trees lining the path - apparently many snakes were spotted on this section - a welcome landscape shift as you approach the New Pelion hut. New Pelion hut is one of the older new huts, more akin to a school camp or scout hall than the architectural new builds. Don’t get me wrong, the new huts are incredible, but New Pelion had a familiar feel closer to what I would expect from a hut on a hike. On any other trail without comparison to the scandi-huts, New Pelion would be a very very nice hut.
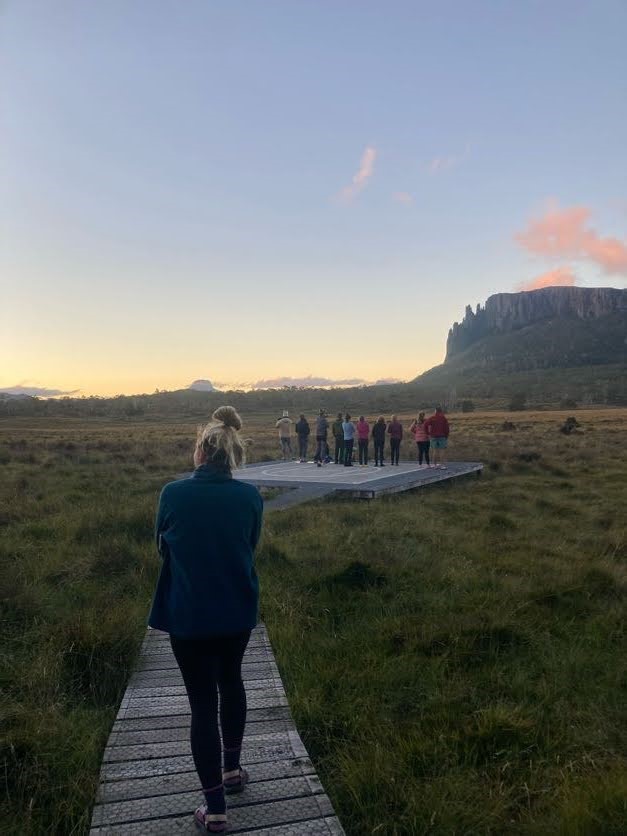
We wandered across to Old Pelion hut, read some of the entries in the book there which were very interesting, and continued down for a swim in the river. Turns out everyone else had the same idea so we had an impromptu pool part on the banks of the river, reviving our muscles and our spirits.
Total time: 4h
Day 4 - New Pelion Hut to Kia Ora
We started day 4 unsure of our intentions. Tossing up Mt Ossa and Mt Pelion East, we decided we would walk up to Pelion Gap and decide from there. We started right behind a gentleman we had met the night before that we were affectionately calling Gandalf on account of his white beard and wise advice, not quite realising who we were walking with. Gandalf had been making himself a chocolate pudding the night before, complete with a fresh egg he carried in, and had mentioned that it wasn’t his first time on the track but we hadn’t heard a lot more. Well we passed Gandalf and thought we’d not see him until that afternoon given we were relatively quick walkers - that was, until we started climbing and we were still talking to Gandalf the whole way up. When we stopped for water and we finally introduced ourselves properly we discovered that this was definitely not his first time on the trail - in fact, this was his 24th! We were waking with none other than the Overland track legend Les Whittle. Les shared stories about the trail and his life, and guided us along showing us features we would have never noticed - like a special tree that was one of only a few in the world that was a cross-breed (I know nothing about trees so I don’t know the right word) of several others, sporting distinct growths from each contributing tree.
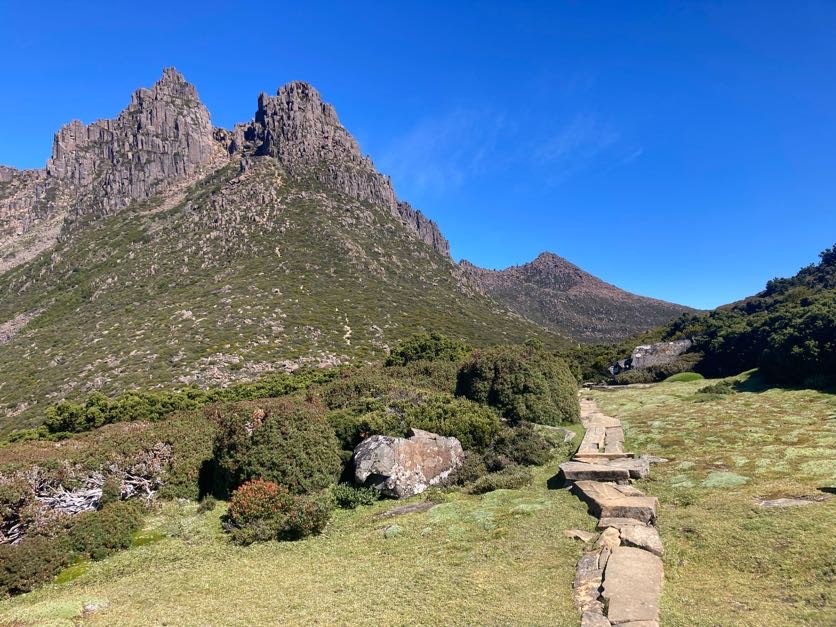
At Pelion Gap, we decided that we were brave enough to head up to Mount Ossa and started planning our ascent. Our daypack decision came back to haunt us again and we were left deciding just how many litres we were willing to carry by hand up the mountain. Thankfully we were saved by another hiker who offered us a daypack they were carrying. “Absolutely fucking not, I am not going up there” was their response when we asked if they wouldn’t need it for their own ascent of Mt Ossa… so up we went! Mt Ossa was challenging due to the elevation and length, especially on a warm day, but nothing that a reasonably fit and sure footed hiker can’t do safely.
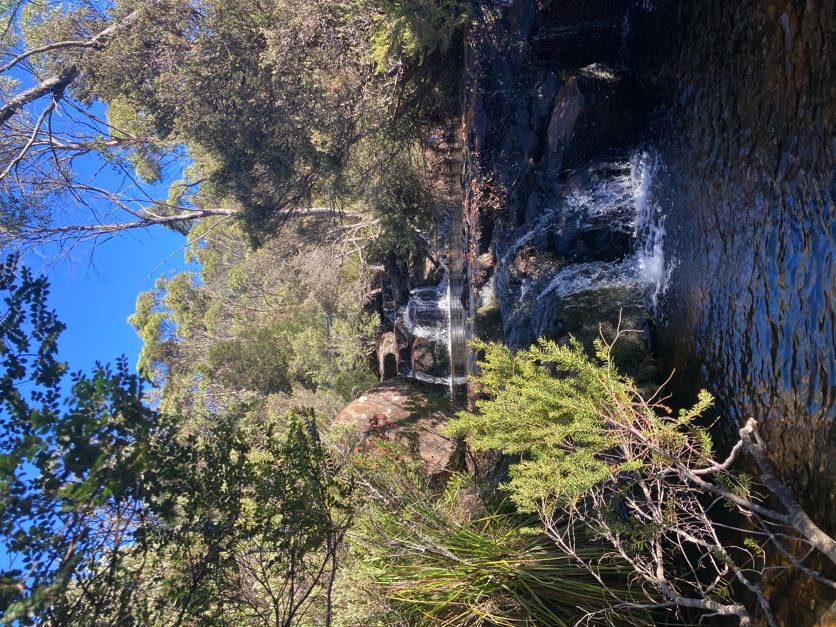
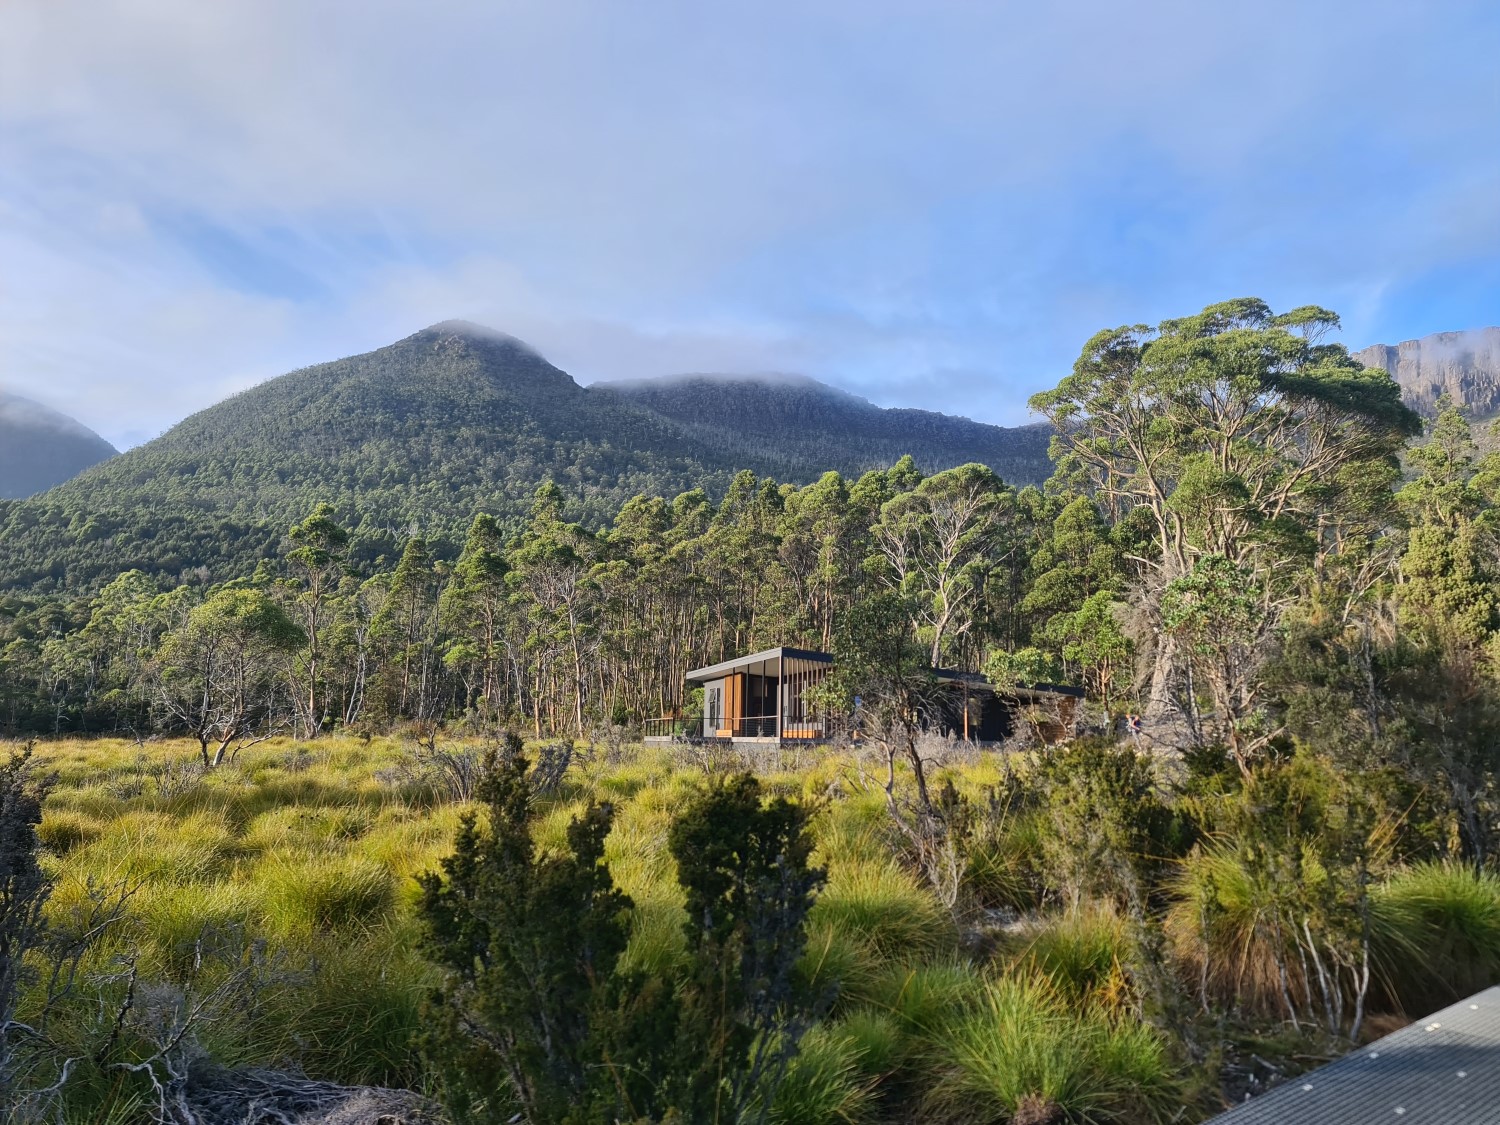
Following the descent from Mt Ossa, you descend further yet to Kia Ora hut which sits with a beautiful backdrop. The outside decking provides ample space for a meal or a rest and if you walk along to the bridge there is a little track off to the side - trail wizard Les recommended the third waterhole down the track and I agreed, it was much better swimming than the first two. The water here was absolutely freezing.
There were some workers staying in the old hut doing renovations to turn it into a workshop, they came and said hi to us in the main hut and seemed interested to hear about how we were all doing. Could smell them cooking bacon and hash browns for breakfast the next morning though…. cruel!
Total time: 4h
Day 5 - Kia Ora to Narcissus
We originally planned to end this day at Bert Nichols hut. We were booked on the 09:30 ferry across but had heard that Narcissus wasn’t the most pleasant overnight stop due to the age of the hut/rodent activity/etc and were tossing up the prospect of a pre-dawn wake up and walk or doing a double day. Initially we were leaning towards the early wake up since we like walking in the morning and didn’t want to skip all the waterfalls just to ensure we would make it to Narcissus, but were concerned that this might be an unrealistic assessment of our ability to get up early and go. In the end we woke up early again and decided that we would take the day to enjoy the walk and make the decision once we arrived at Bert Nichols hut.
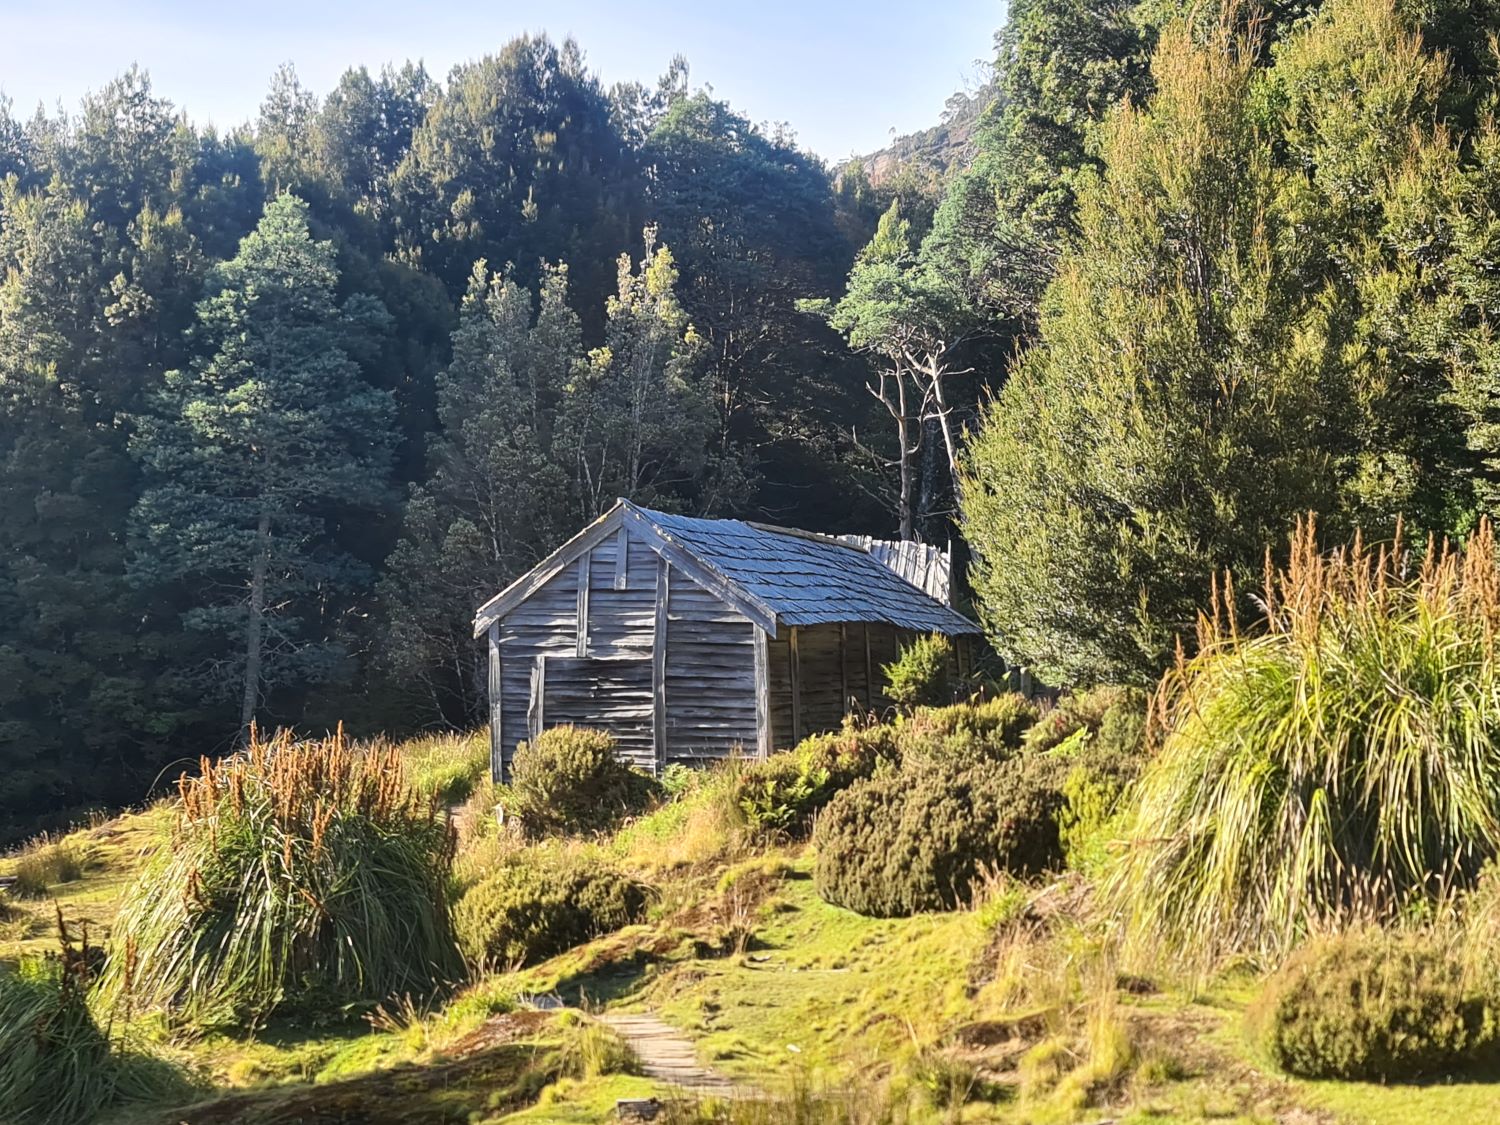
Quickly after setting off we paused at Du Cane hut. Despite being uninhabitable it was one of my favourite huts of the trail, sitting in a super lush valley and with so much history inside. We spent a long time reading the information - both official and unofficial - inside the hut. Do make sure to take a look at the toilet here, it’s quite something.
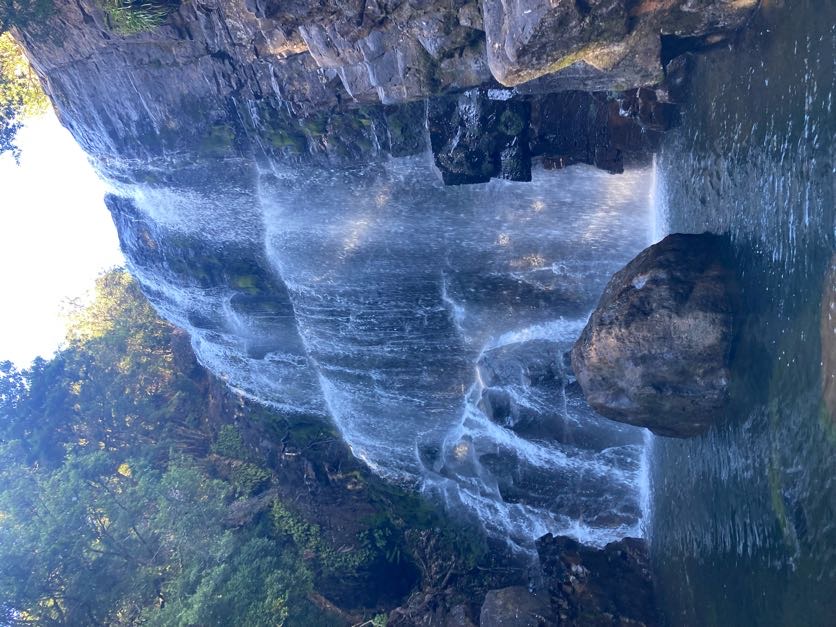
We stopped off at Ferguson and Dalton falls, skipping Hartnett, which was a good balance for us. The side trip is absolutely worthwhile with the waterfalls close to each other and very very pretty. Getting down to the waterfalls is a non-trivial descent to a safe ‘viewing platform’ style area. At both waterfalls you have the option to push it a little bit - either by stepping across a slipperby but accessible ledge or by climbing down to the water.
The walk up to Bert Nichols hut is longer than anticipated with a drawn of sense of ‘we must be there’, to the point where we were stopping to check the map and ensure we hadn’t overshot. However, since we arrived at the hut before lunchtime we made the assessment that walking in the dark would likely be more challenging than continuing on, especially as the track from this point on is a meandering downhill the rest of the way.
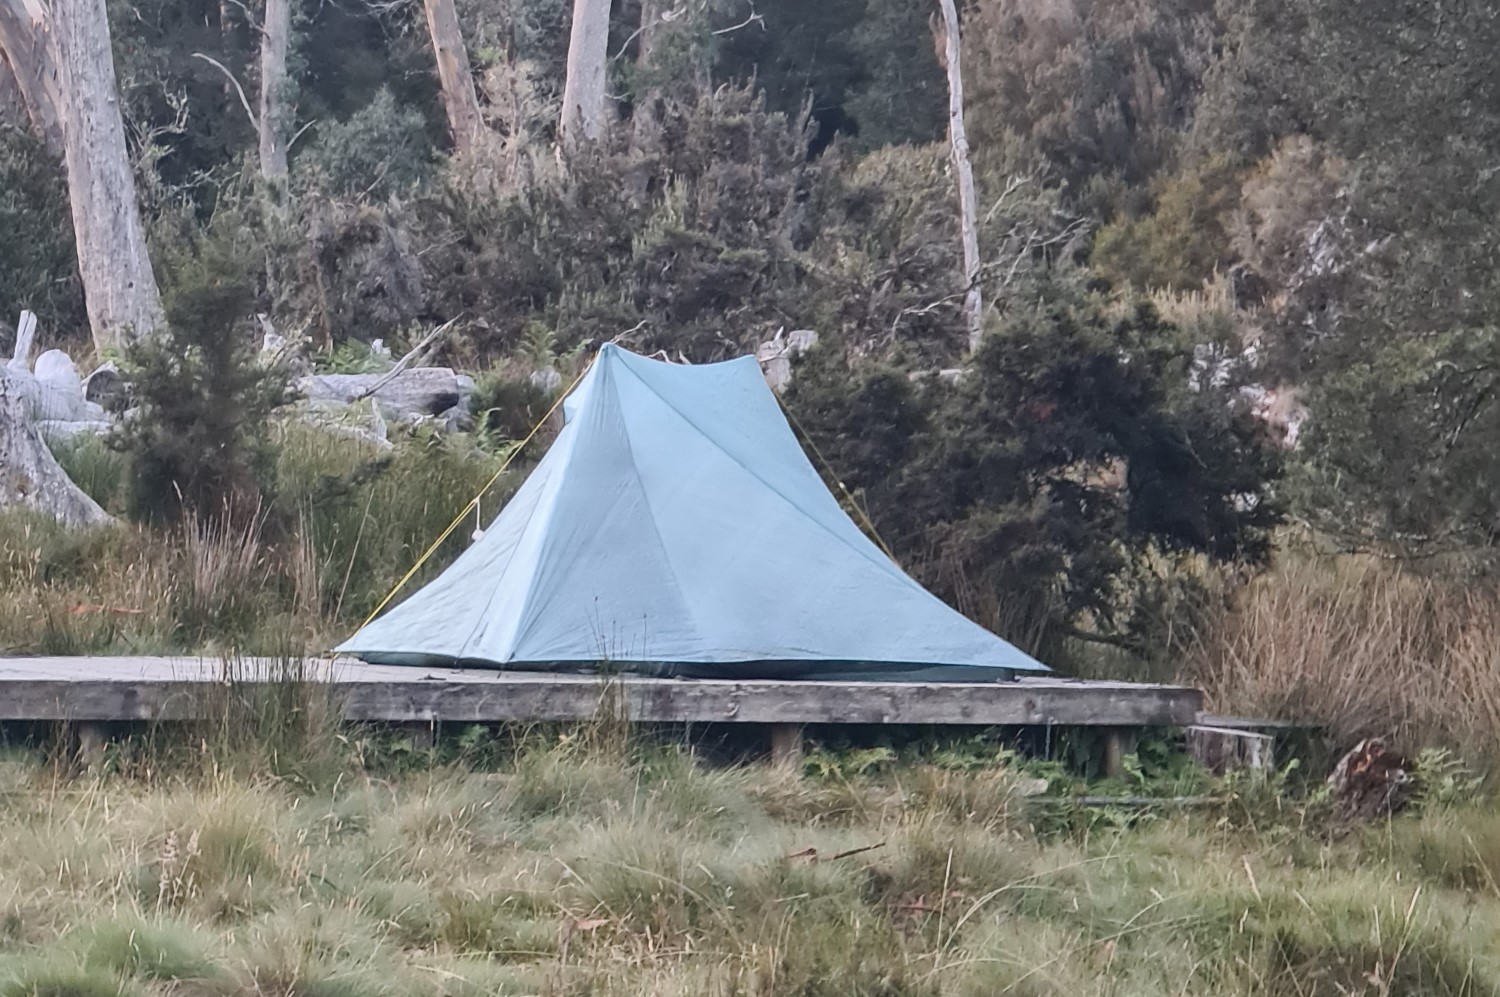
In the end, I do feel that this was the right decision. The swimming at Narcissus is awesome, the prospect of platypus is a huge plus too, and the hut and tent platforms are honestly grand. I could see the hut being a bit cramped when weather is poor and people are cramming in, but we had a warm night with most opting to camp.
Total time: 5h40m

The Huts
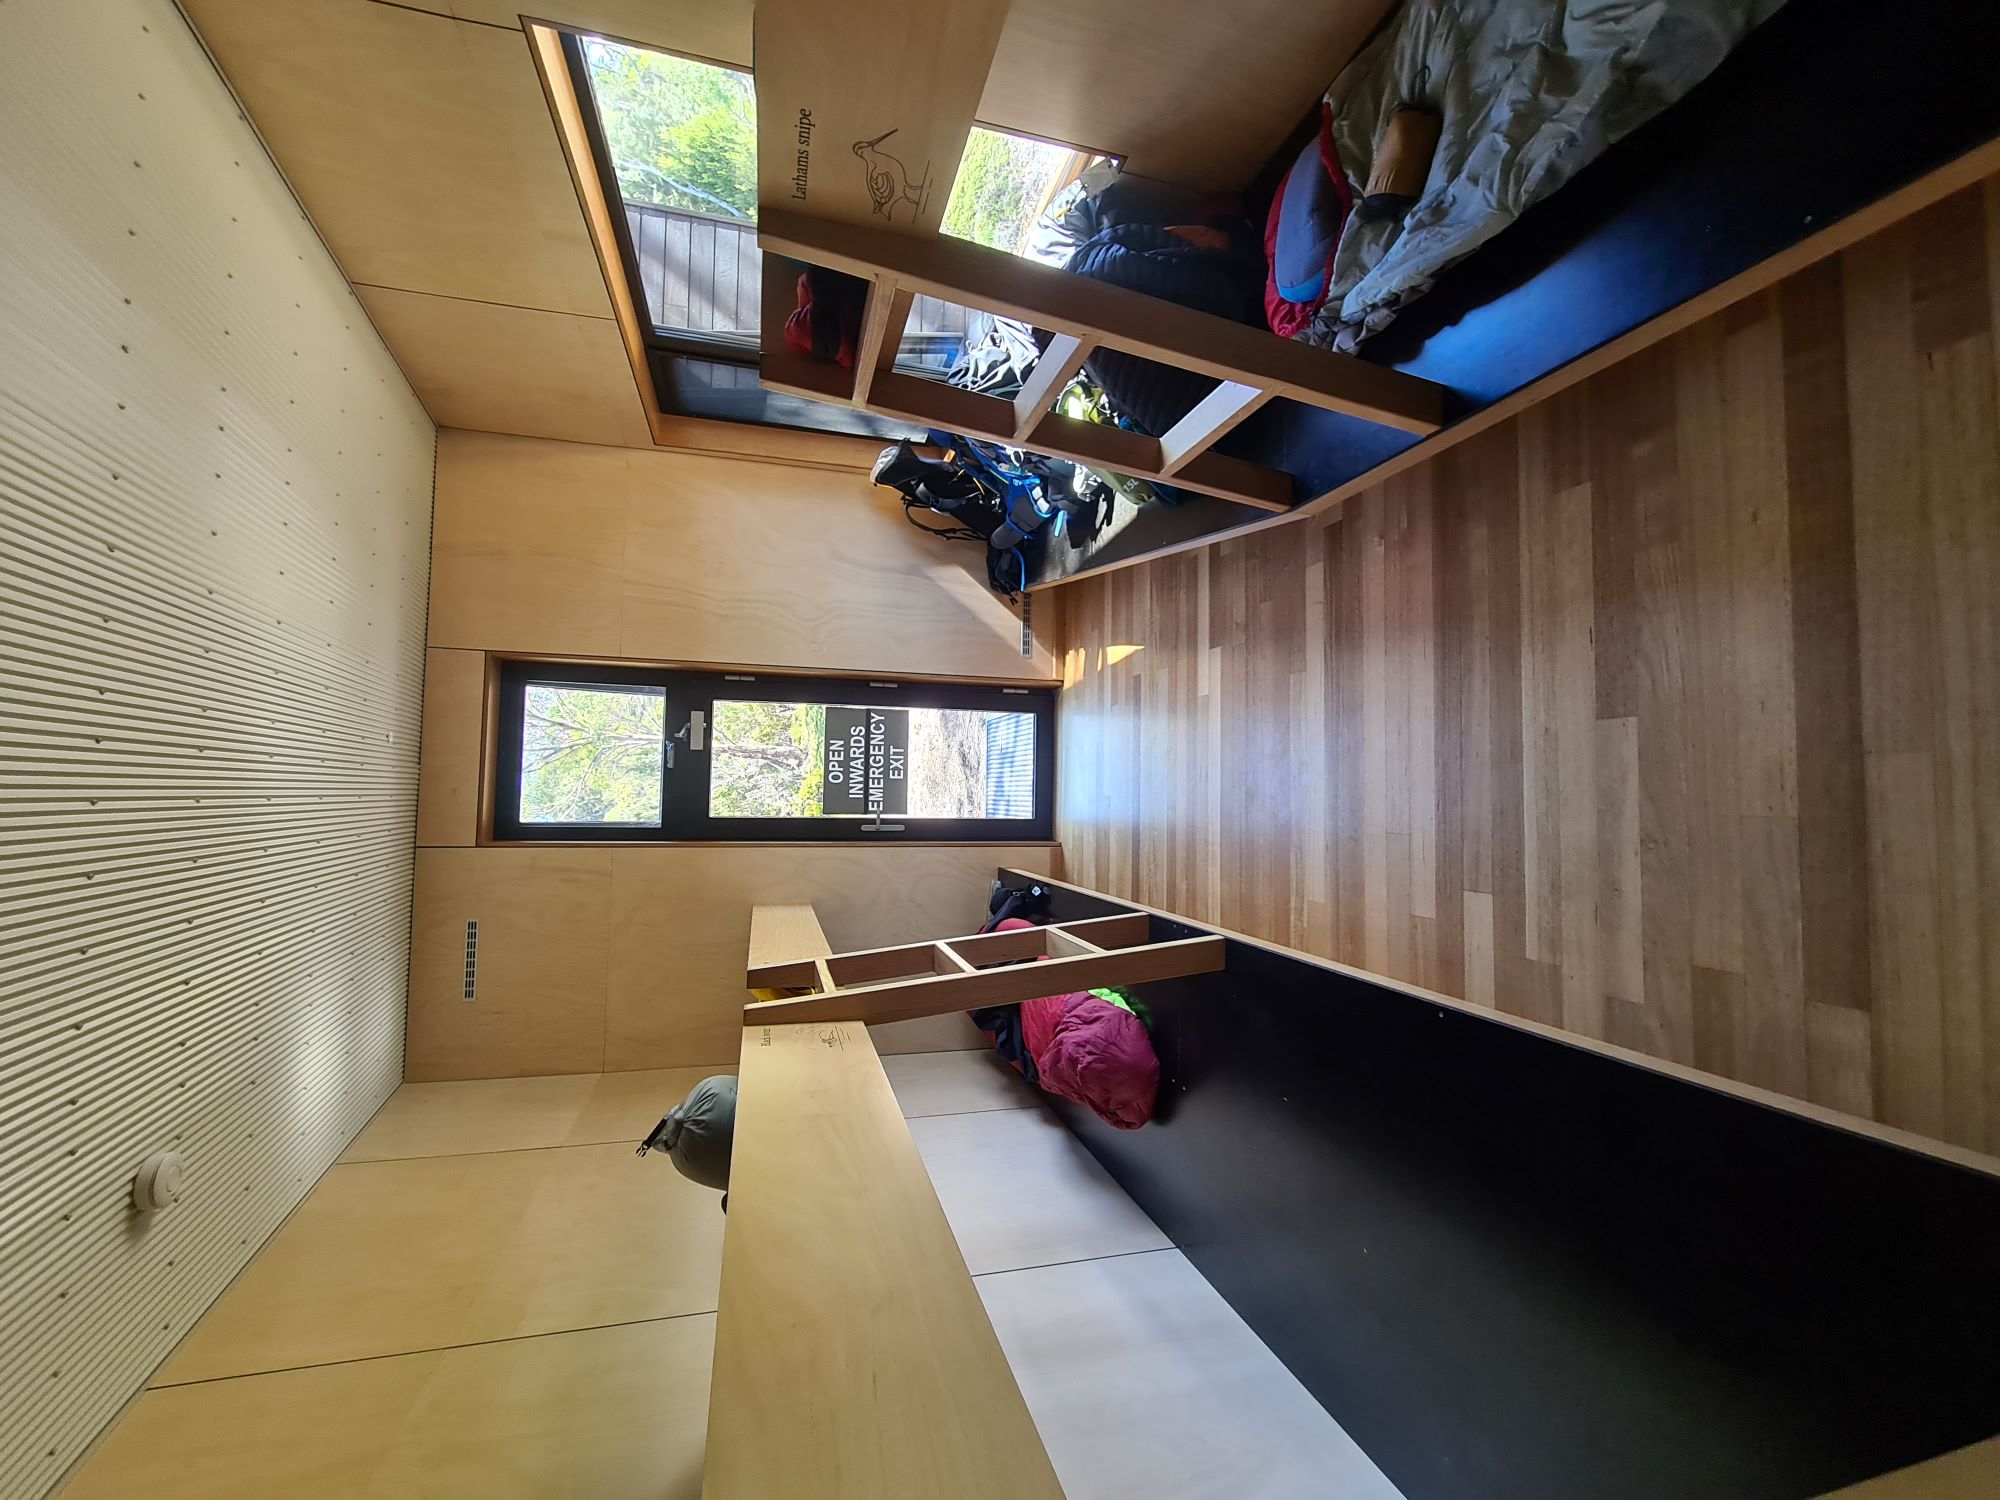
I didn’t realise, but we discovered that the new huts are divisive. Many of the people we hiked with preferred New Pelion to any of the new huts, feeling that the huts removed the connection to the landscape and felt too far removed from the walk. I can understand this to some extent; the huts are very modern and feel more like a Scandinavian boutique hotel than a camping hut at times and small niceties like the lights inside remove some of the consideration about what time of day it is and your sync with sunlight. So some of the camping experience we are accustomed to on really any other walk is taken away.
The beds in many of the huts are end to end and so you can end up with your head near someone’s feet so that’s worth keeping in mind. The bunks are pretty nice but a warning, most of the huts have one or two smaller rooms (6-8 beds) and then one much larger room of 12-15. No matter which room you are in you will have a snorer and even if you don’t, the Sea To Summit mats are earth shatteringly loud. This point is worth drilling home actually, I don’t know if it’s the reflective insulation, the quilted shape, the surface material, or something else but S2S pads were astonishingly loud.
Some people we met on the trail were deeply and personally offended by snoring. I don’t understand why they expected nobody in the room would snore. I don’t know why they didn’t bring earplugs. I don’t know why they thought this was sinful and surprising. I was shocked by just how upset they were as if this was not an expected or foreseeable issue. I digress, the key message here is bring at least one pair of good ear plugs.
There’s a broader topic that was also brought into the conversation which is a question about the track maintenance priorities and budget decisions that many states are wrestling with - for exmple, the major investment in opening the newly minted Murramarang South Coast Walk when many other trails in NSW have been closed for years due to a lack of maintenance. A recent article in Wild magazine discusses the question of whether boardwalks are disconnecting us from the wilderness areas that we are walking through, I found that the same idea was being discussed a lot on the topic of these new huts and how they impact the experience. I can’t speak to the decision that was made to boardwalk much of the Overland track but given the amount of traffic and condition of the natural sections of the track… to me it seems very reasonable. On the other hand, the structures are designed to protect you from the outside, necessitating some level of disconnect. I thought the huts were lovely to be in and thoughtfully tucked away so as not to dominate the landscape, but appreciate that they will not be to everyone’s taste - if you go into this walk expecting low traffic, privacy, and an intense connection to nature you might find yourself a little bit let down.
Personally, I thought the huts were awesome and if you don’t love them you can just set up your tent - exactly what the people that didn’t love the huts did!
Gear Notes
As mentioned earlier, I made a few uncommon decisions and tried a few new things. Mostly these decisions ended up being correct which I am very pleased about - while they would not have led to an unsafe trip, I certainly could have been uncomfortable. All in all, there is little I would change about my gear list.
Rain Gear
Starting with the most controversial decision, I did not carry rain pants and my rain jacket was not a 3 layer waterproof-breathable jacket. In fact, it’s a 1 layer non-breathable jacket. This decision was made based upon weather data available on the day of departure showing that no rain was expected at all during our walk and with the confidence that even if we did hit rain, I would not end up both cold and wet. Cold is OK, wet is OK, cold and wet is not OK. I run warm, so with a good selection of insulated layers and an understanding of how far each day is, I was not concerned about my legs at all. I did end up deciding to bring a pair of long pants to wear at camp partially for warmth and partially for bugs. These were nice to have but not essential.
I decided to forego rain pants as I seldom use them even when I know the weather is poor, preferring to hike in my shorts since I’m going to get wet anyways. With conditions varying greatly and without warning in Alpine regions, rain pants are a sane suggestion but probably not necessary with a forecast like ours. I have wanted to trial swapping to a waterproof non-breathable fabrics after reading Andrew Skurka’s propaganda article on why waterproof breathable fabrics fail and where they fit in the hiking world. Realistically, I probably wouldn’t recommend the Overland as the right place to test out something like this but as we had a hot dry forecast, so I was confident that I wouldn’t end up too wet, just maybe a little hot.
Most people on the trail carried full goretex pants and a jacket. I do understand that the guidance is to bring these regardless and while I don’t think it’s bad safety advice, it probably isn’t necessary absolutely all of the time. In the end, we did not get any rain and I was not cold.
Shoes / Socks
I trialled some new shoes on this hike as well, the Topo Traverse, plus Injini liners for the first hike longer than an overnight. Overall, I was extremely please with my footwear, with some caveats.

As you can see, nearly everyone wore a traditional hiking boot and most people were pretty happy with this decision. A number of people, maybe half, ended the trail with blisters and some had pretty severe cases. I did not escape the blister brigade and I think I know why. As it turns out, when going downhill for a long time my Injinji sock liners get pulled toward the heel and this puts a rather unpleasant sensation on the webbing between toes. During the descent of Mt Ossa I removed both of my liners to alleviate this issue, however it was at this time that I got a slight blister on my heel - exactly what I was wearing the liners to prevent. Alas, one problem causes others and so while I do still believe in my Injinji liners, they aren’t without their flaws.
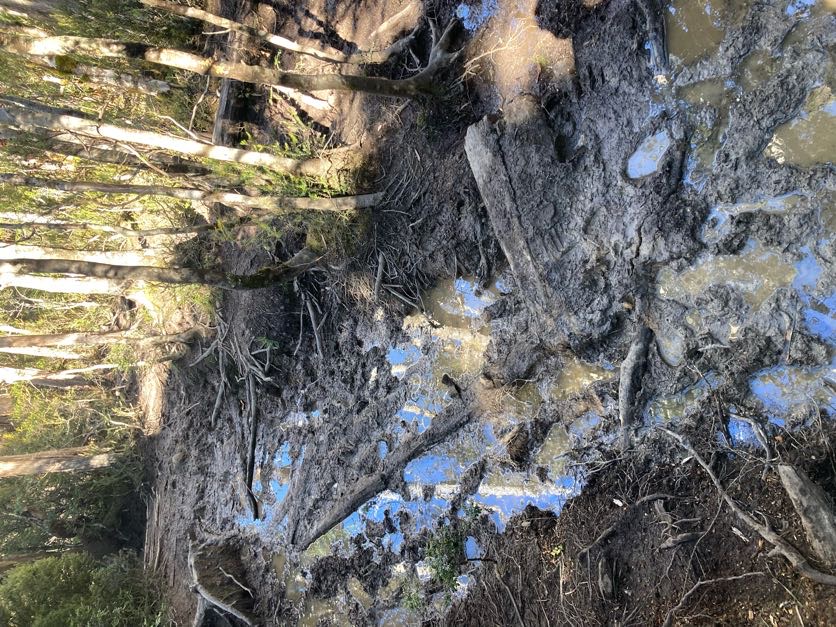
Another note is that this trail is muddy and we were there without significant rainfall preceding or during the walk. If you did this walk pretty much any other week, dodging the mud would not be possible. This is one of the few times that I think a full coverage boot can be more pleasant. I was willing to put up with muddy socks but was thankfully spared. Something to consider!
Tent Platforms
I have heard reports of non-freestanding tents being a bit of a pain on the tent platforms and can understand this. The chains and nails provide what I would consider fairly flexible pitching options but you have to be willing to compromise some aspect of your pitch. One a tent like the x-mid where a good pitch gives you a lot more structure… compromising isn’t ideal.
I found that a combination of big rock little rock, combining the chains to tension them in the direction you want, and the nails provided gave me a good ability to pitch. I did trial a set of thin wire deck anchors as I had heard some platforms, particularly new ones, did not have a lot of space between the gaps and so a traditional deck anchor wouldn’t fit. I didn’t end up needing to test this in the end as when I did use the deck anchors there was a big enough gap, but I lent out a deck anchor to someone who had good success with it, so I would recommend spending $20 on a set of these. Ditch the spring if yours comes with it, they are unnecessary.
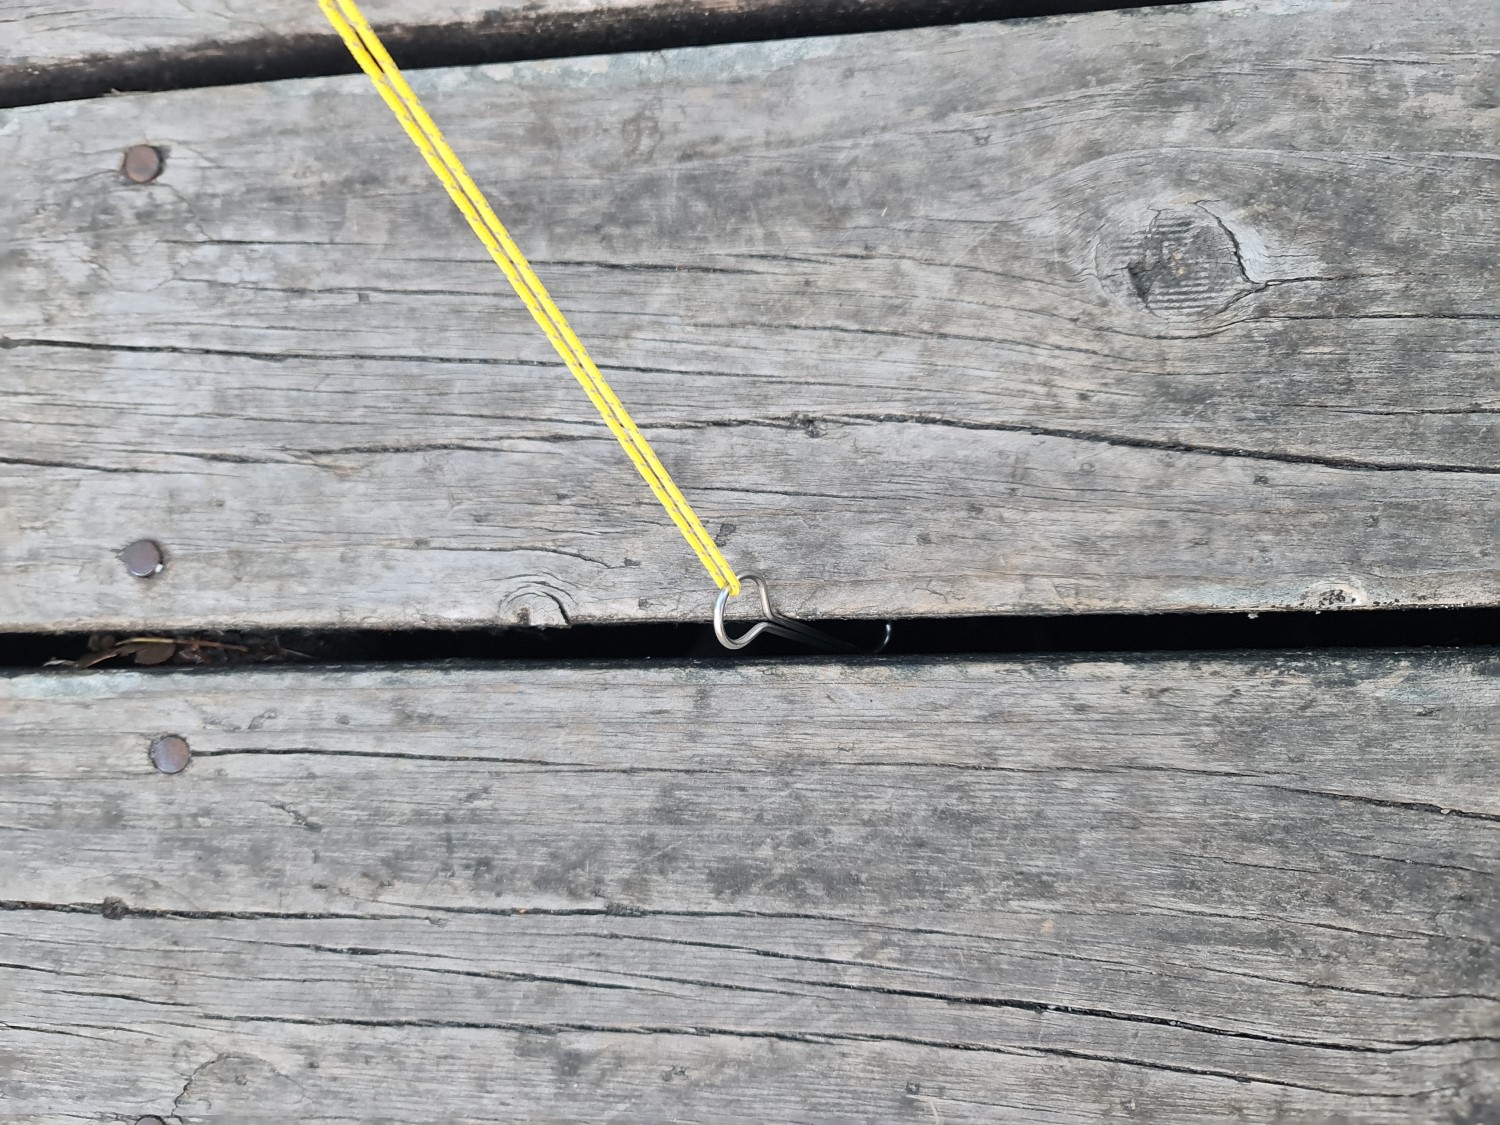
Water Filter
I took a sawyer squeeze mini. It was mostly fine. The flow rate ware incredibly poor by the final day to the point where I was swearing off the Sawyer until I saw that people with other filters were experiencing the same issue. I think that in this end this was actually a skill issue - I didn’t know how to do a water bottle backflush and it’s very likely that this would have solved my problem.
Many people didn’t bother filtering at all but I’m not that brave. Learn to maintain your filter on the trail or the 6 days will add up!
Walking Poles
Walking poles were pretty much useless. Other than a few uphill sections and traversing mud we didn’t use them. They are particularly challenging on this trail as you spend about 40% of the time on some form of boardwalk which your poles will end up slipping through and getting stuck. Because the boardwalk sections are interspersed with natural track you could keep the poles out and just carry them at times but really for us it wasn’t worth it. I did notice a few of the guides we saw in tour groups using them when they were catching up to the group in the morning and I can only assume they’ve learned pinpoint accuracy when placing their poles.
The exception to this is that if you’re not a particularly spritely walker, you may really like to have poles for some of the uphill and downhill sections where the steps can be quite large. We particularly noticed hikers with heavier packs needing the extra support of a pole to get down some steps at the end of a long day but the same could be extrapolated to tired/older/injured/etc hikers. There was also a hiker who rolled her ankle toward the end of the hike and needed to take things extra slow since she was in a lot of pain, the poles would have been critical to this mission.
There is a secondary message here as well - if your non-freestanding tent + poles is heavier than a freestanding tent alternative then given you will be carrying your poles most of the time and setting up on a platform is much easier with a freestanding tent, you are probably going to end up both carrying less load and with an easier time pitching if you ditch the poles.
Day Pack
We didn’t take one but honestly, you probably want one. Some of the larger side trips like Ossa and Cradle are much easier if you are not carrying a water bottle in your hand, so personally next time I would take a small backpack/grocery bag/other that would make these side trips easier. I don’t think a full on backpack is needed, one of those awfully uncomfortable sil stuffable daypacks would do the trick for only 30g.
Phone
An unexpected over performer was my phone, a Samsung Galaxy S21 Ultra. I carried a nitecore 10,000mAh powerbank to ensure I didn’t run out of juice but did not even use it during the hike. I was so impressed by the power saving mode the my phone that I needed to mention it. Samsung phones have an ultra low power mode that restricts apps, CPU performance, and many other functions. I only use a few apps, like Caltopo and my Camera, while I walk and so include these as some of the apps I can still access. The battery life prediction is based on past usage which means on the first day it said I had 2 days of juice - completely fine with a power bank. On day 2, due to my low usage, it’s increased to 4 days - wow! By day 3, I have a predicted 12+ days of battery life left if my usage stays the same. I finished the trail with nearly 50% battery left from my original charge.
Now I will admit that I basically only used it for photos and occasionally connecting to my GoVee or loading Caltopo, but even still I thought this was incredible performance and worth mentioning.
Unused and Unloved
As a quick final note, here’s a list of the gear we most frequently heard making it to the end of the trail unused:
- Heavy rain gear
- Many were carrying 1kg+ of high quality goretex - more if you include their gaiters - that did not get used
- Caveat: many people brought rain gear that is a sensible choice for the unpredictable environment that is the Tasmanian alpine region. The day before we left had 110kph+ winds, a few days after we finished had some rain. We experienced some of the best weather you could ask for.
- Spare clothing
- Too many extra t-shirts, underwear, socks, and multiple excessive layers
- A fellow hiker carried only a Macpac Nitro apex hoodie as their insulation as they said they run warm and were OK for the week with night time lows close to 0
- Others carried a fleece, light puffy, and a big puffy for at camp. They probably only needed one of these, but in colder conditions a fleece and a camp puffy would be needed
- Some people carried 5+ cotton t-shirts and changed every day. Yikes!
- Too many extra t-shirts, underwear, socks, and multiple excessive layers
- Food / cookware
- Some people ended the hike with close to half of their food uneaten. Seriously consider just how much gorp you are willing to consume on a single day
- Multiple pots, full plate and bowl sets, and heavy stoves all featured, as well as costco sized gas canisters
- Excessive toiletries
- Deodorant is futile, soap/shampoo/conditioner is mostly non-usable except for the showers at the end, and your skincare routine is unlikely to survive
