Mapping NSW Hikes Using Caltopo
During most (all) of my hikes I’ve followed a well-known track, covered in trail markers, with a printed out map provided by the relevant park authority in hand. This is great when all you need to do is follow a trail and know when to turn. Combined with a map on your phone or a GPS watch, getting lost is very difficult.
Recently I’m been more interested in hiking in areas where no trails exists, where trail markers are sparse, or where trails are not that well maintained. This isn’t an intentional thing, but I think a natural part of seeking new places to hike. In addition to some off-trail hiking, I do sometimes find that I can be on a trail but a bit unsure of where exactly and when there are many different trails intersecting it can lead to me taking an unexpected detour.
Caltopo
When you’re on a hike, particularly one without a well defined trail, it’s important to know where you are and where you’re going. One of the most vital pieces of equipment to have is a good map and when you’re walking a route that isn’t already well mapped, you need to make your own!
This is where Caltopo comes in. There are many other options including the ever popular AllTrails and GaiaGPS - Caltopo just happens to be what I use. In the US, Caltopo has a number of great baselayers to choose from including Skurka Favourite United States Geological Survey 7.5 series. Unfortunately in Australia, this is obviously not available. While topographical and satellite images are available from most state governments, these aren’t available in Caltopo without some additional setup.
When you’re creating maps in Caltopo it’s pretty straightforward - add markers, lines that snap to walking trails or can be freehand drawn, and adjust layers as needed.
NSW Layers
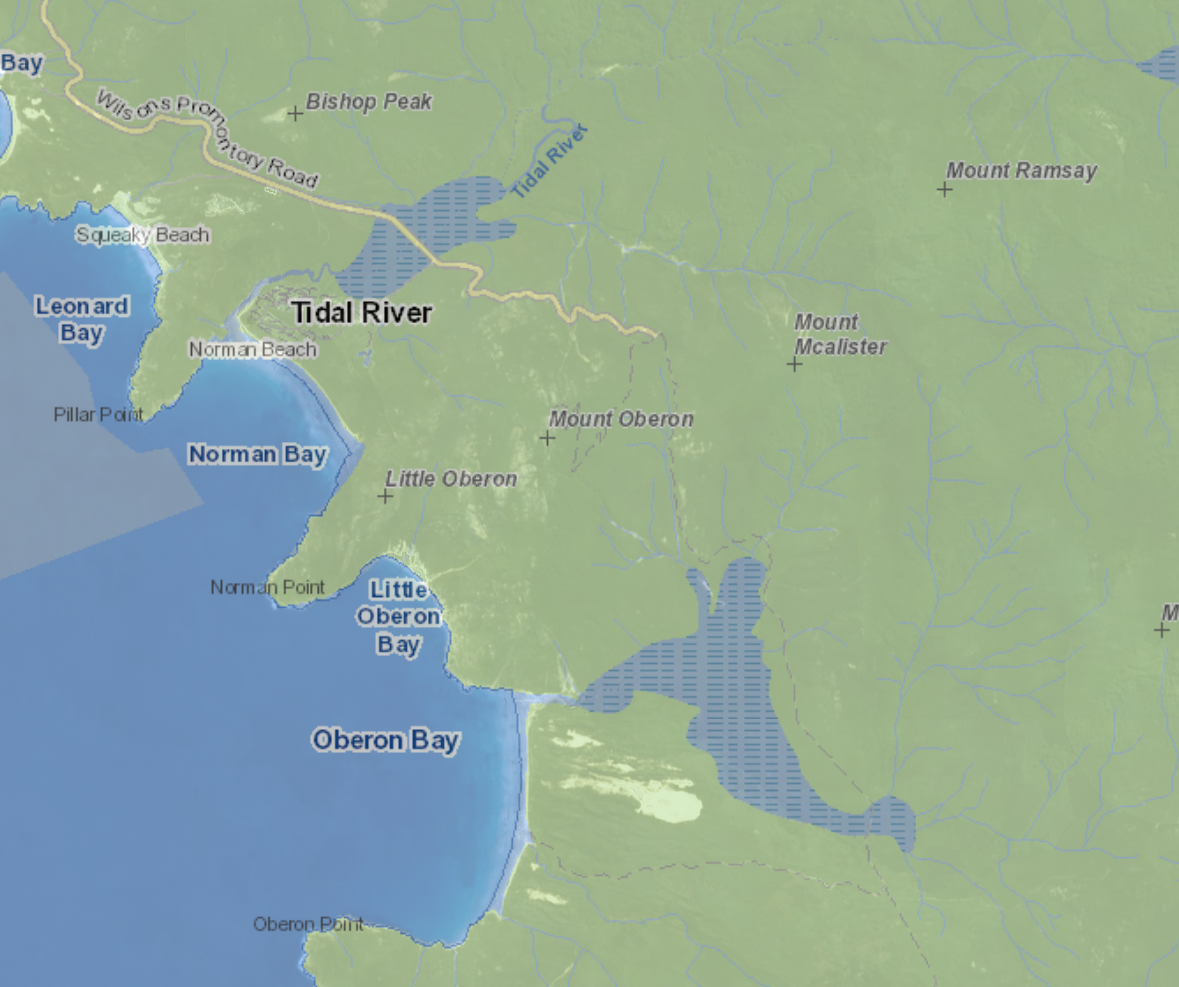
Although the default Caltopo layer is very good, sometimes you want might want to use the maps that the NSW government provides. This is where the custom layers come into play. For example, on a recent hike I wanted to create a map utilising information from the NSW Spatial Information eXchange mapping resources.
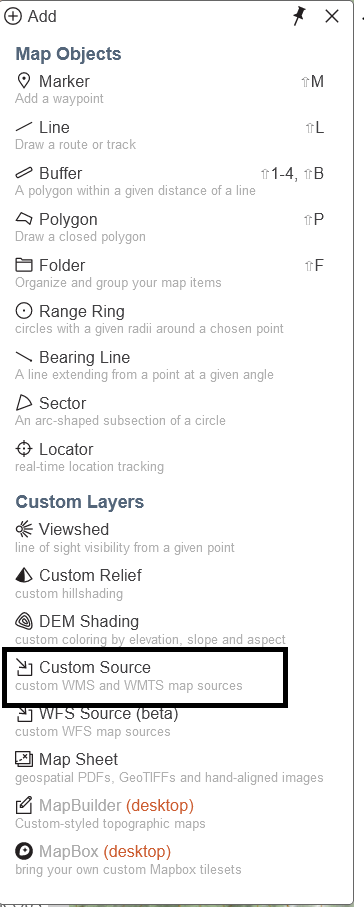
We can use the maps available from SIX as custom layers by going to Add -> Custom Layer using the following selections:
Type: TILE
Name: Descriptive name
Max Zoom: 16
Overlay?: No - baselayer
The following URLs can you be used for satellite imagery or topographical maps:
Satellite:
https://maps2.six.nsw.gov.au/arcgis/rest/services/sixmaps/LPI_Imagery_Best/MapServer/tile/{Z}/{Y}/{X}
Topo:
https://maps4.six.nsw.gov.au/arcgis/rest/services/sixmaps/LPITopoMap/MapServer/tile/{Z}/{Y}/{X}
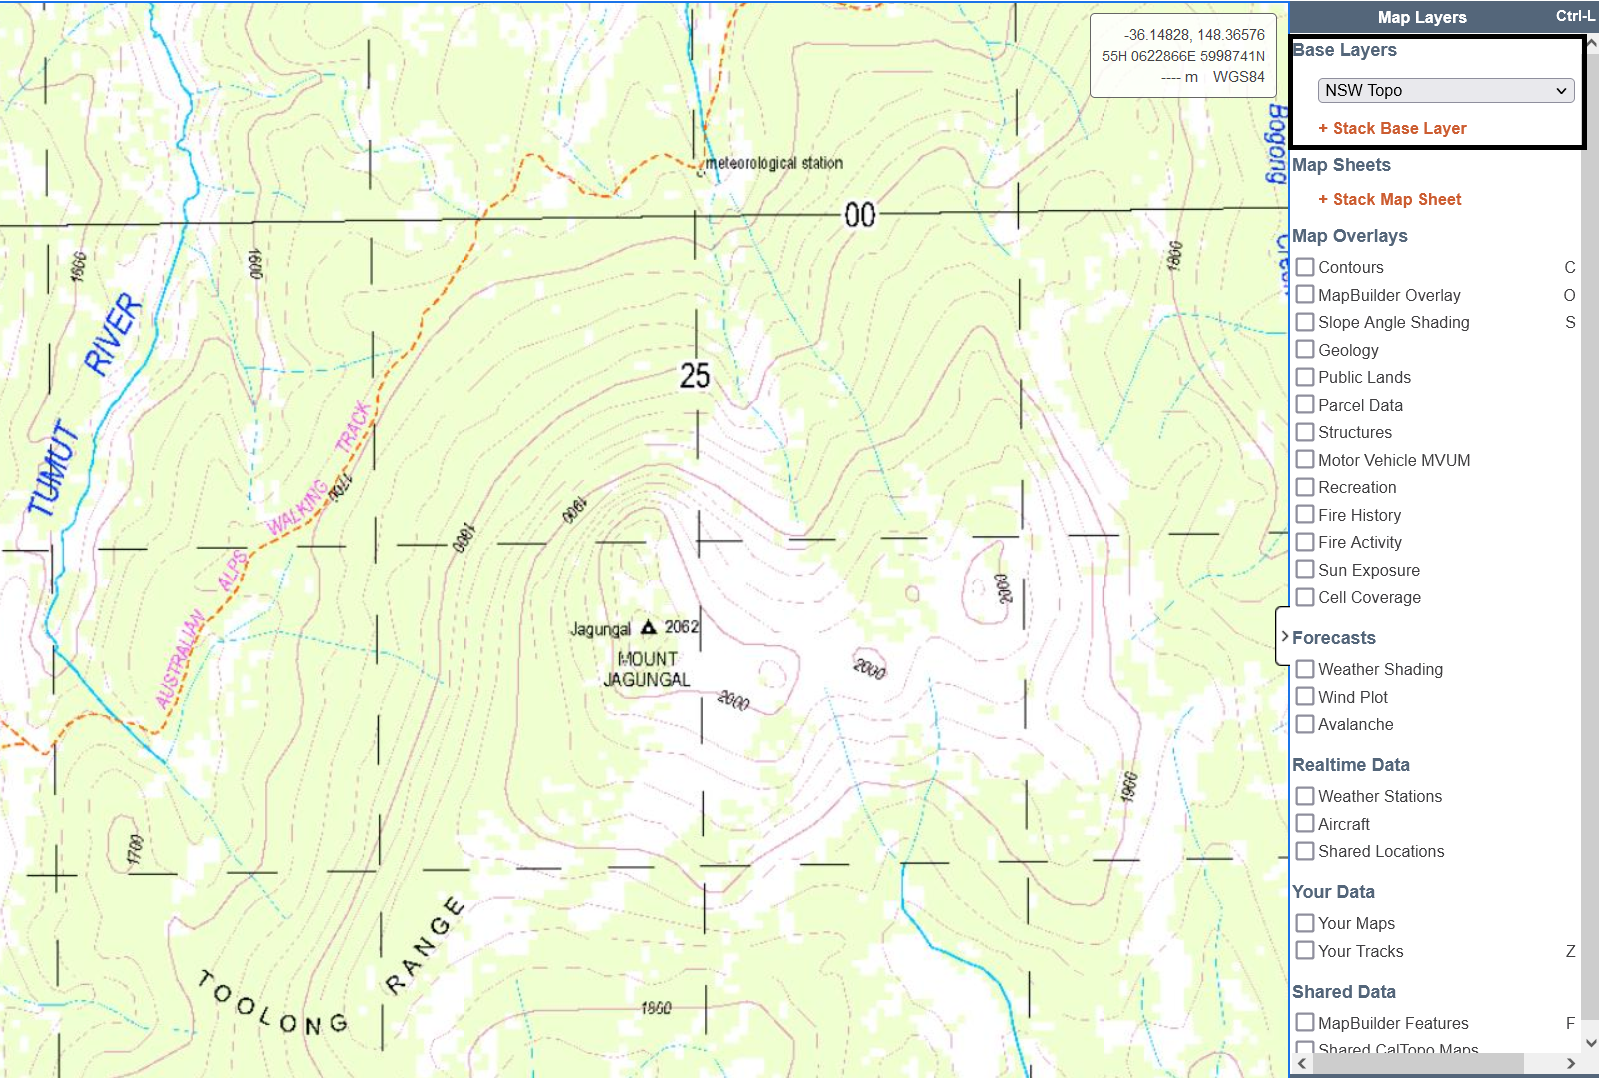
and that’s it! You can now select your new baselayers from the right hand panel, allowing you to switch to either of these data sources if they’re more useful for the area you are planning to walk.

